MECHANICAL · MACHINING · FABRICATION · CMF
Space Chess.
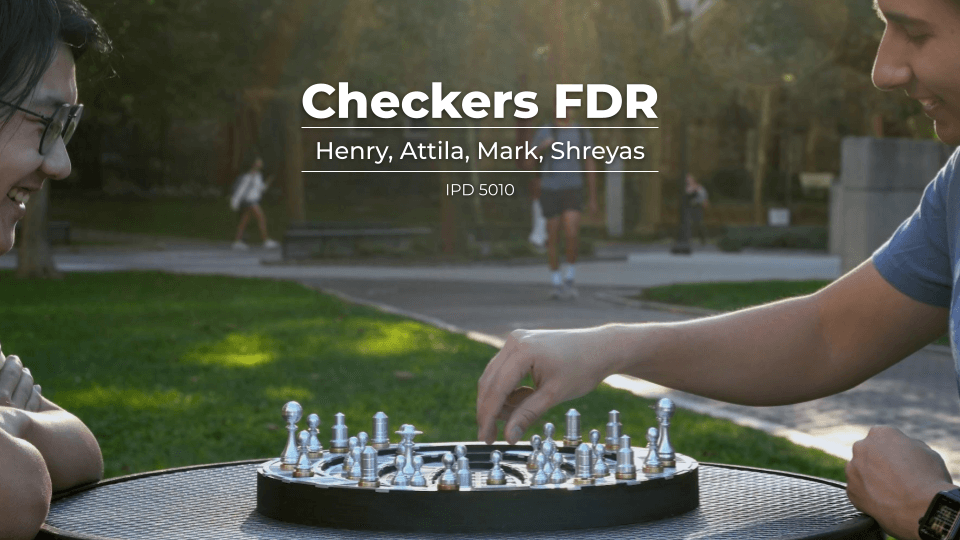
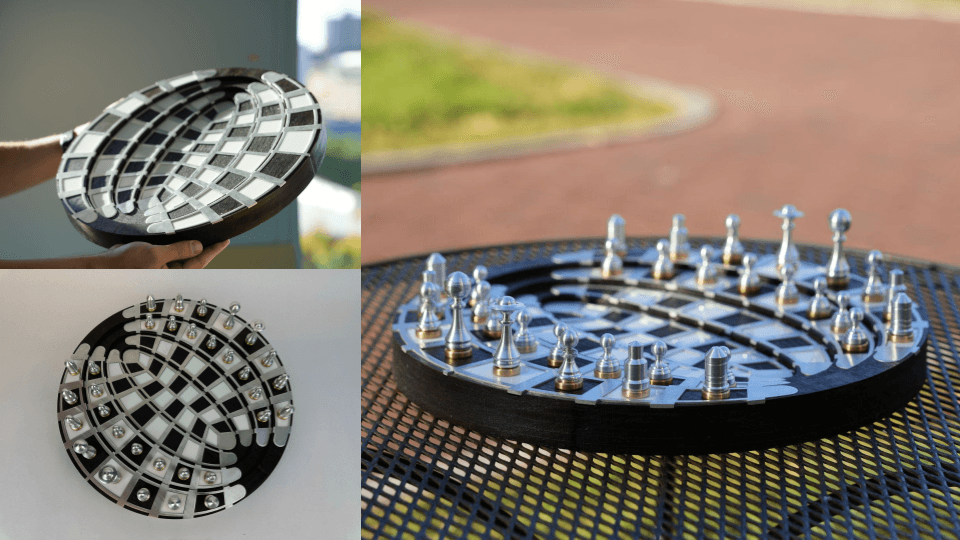
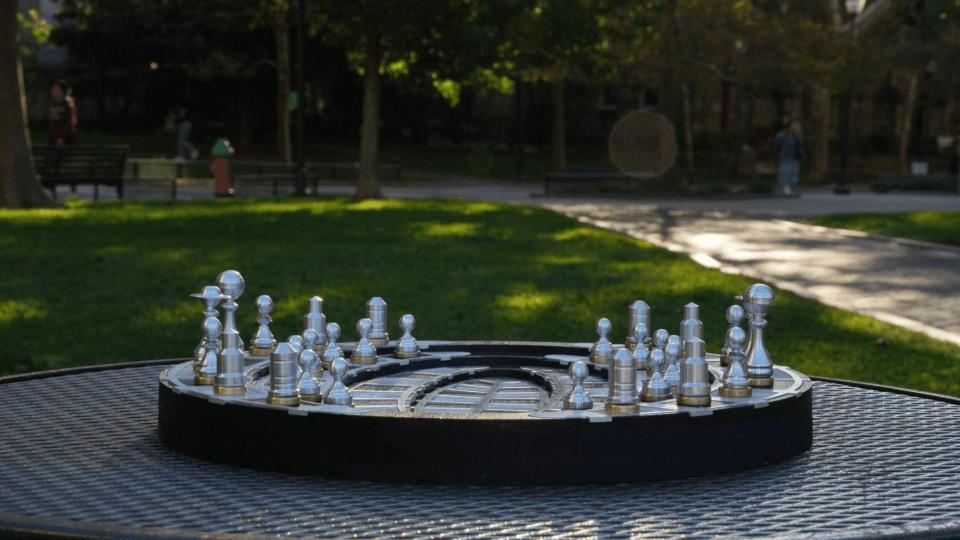
Machined chess set
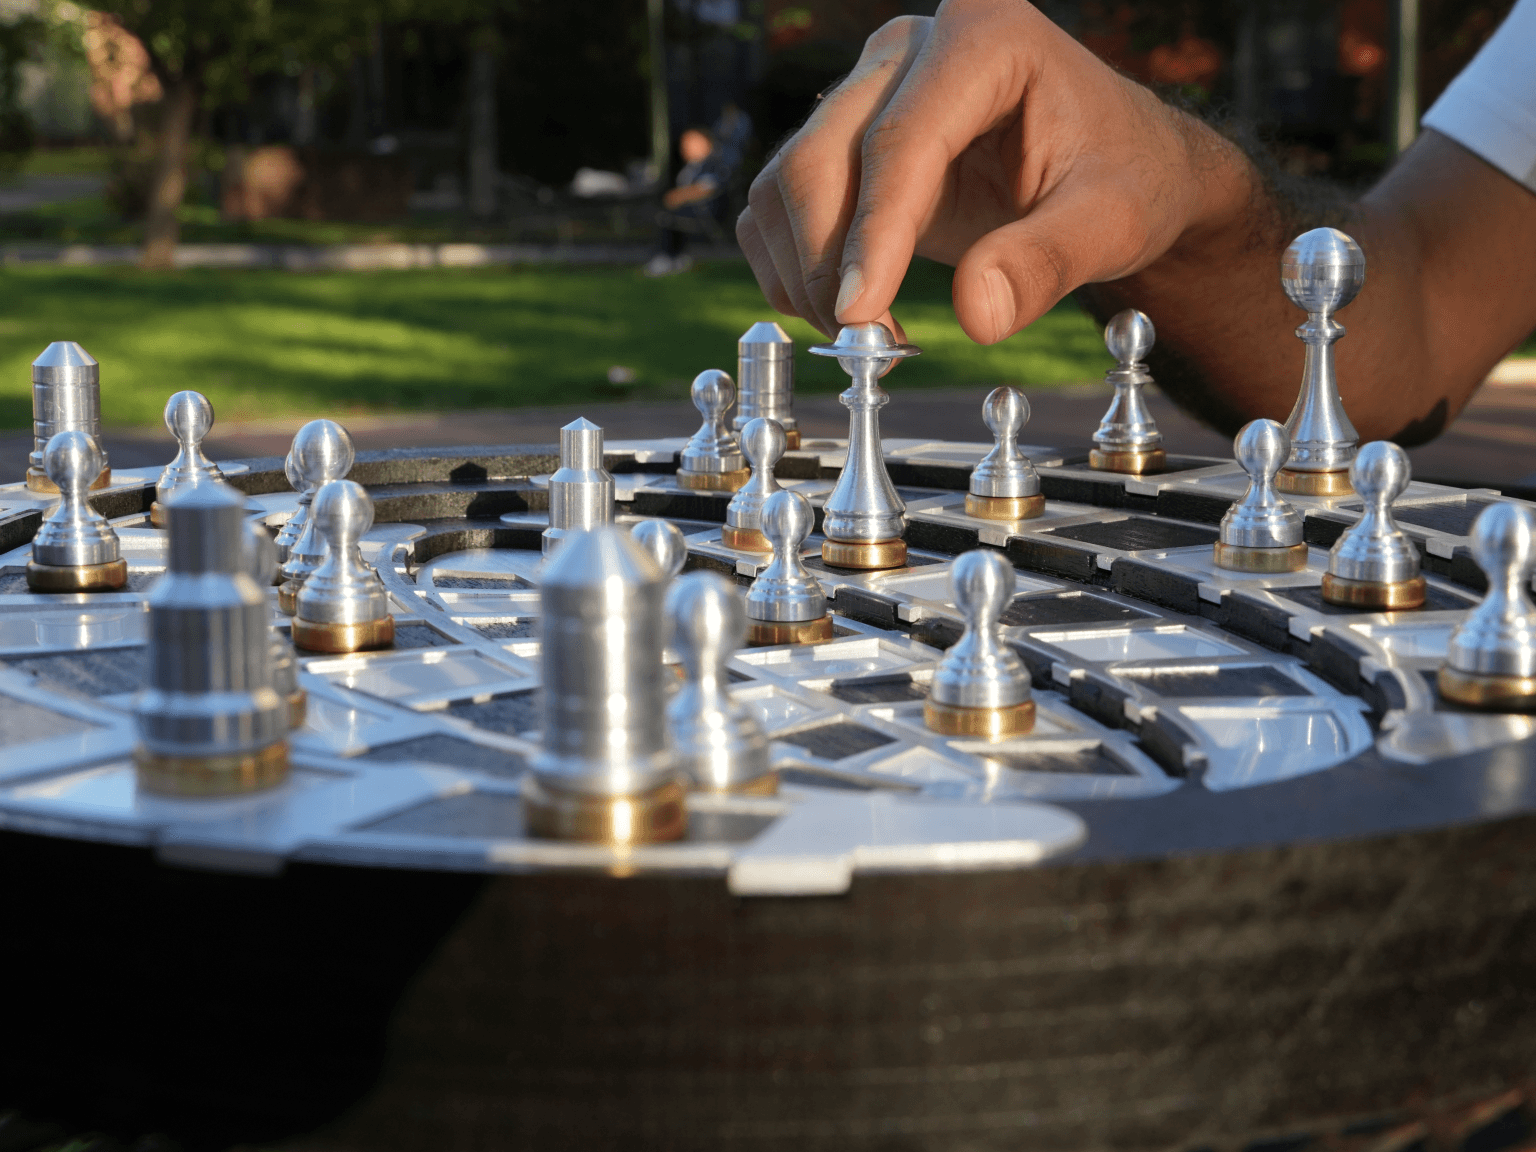
This project was part of the IPD5010 machining class. The brief was to design and fabricate a themed chess set as a way to learn using Haas TL-1 lathe.
- Course
- IPD 5010
- Machines
- Haas TL-1 lathe · CNC router · Laser cutter
- Materials
- Walnut · Aluminium · Brass · Acrylic
- Finishing
- Polishing · Anodization · Wood stain & coating
01 · concepts
Exploring four themes
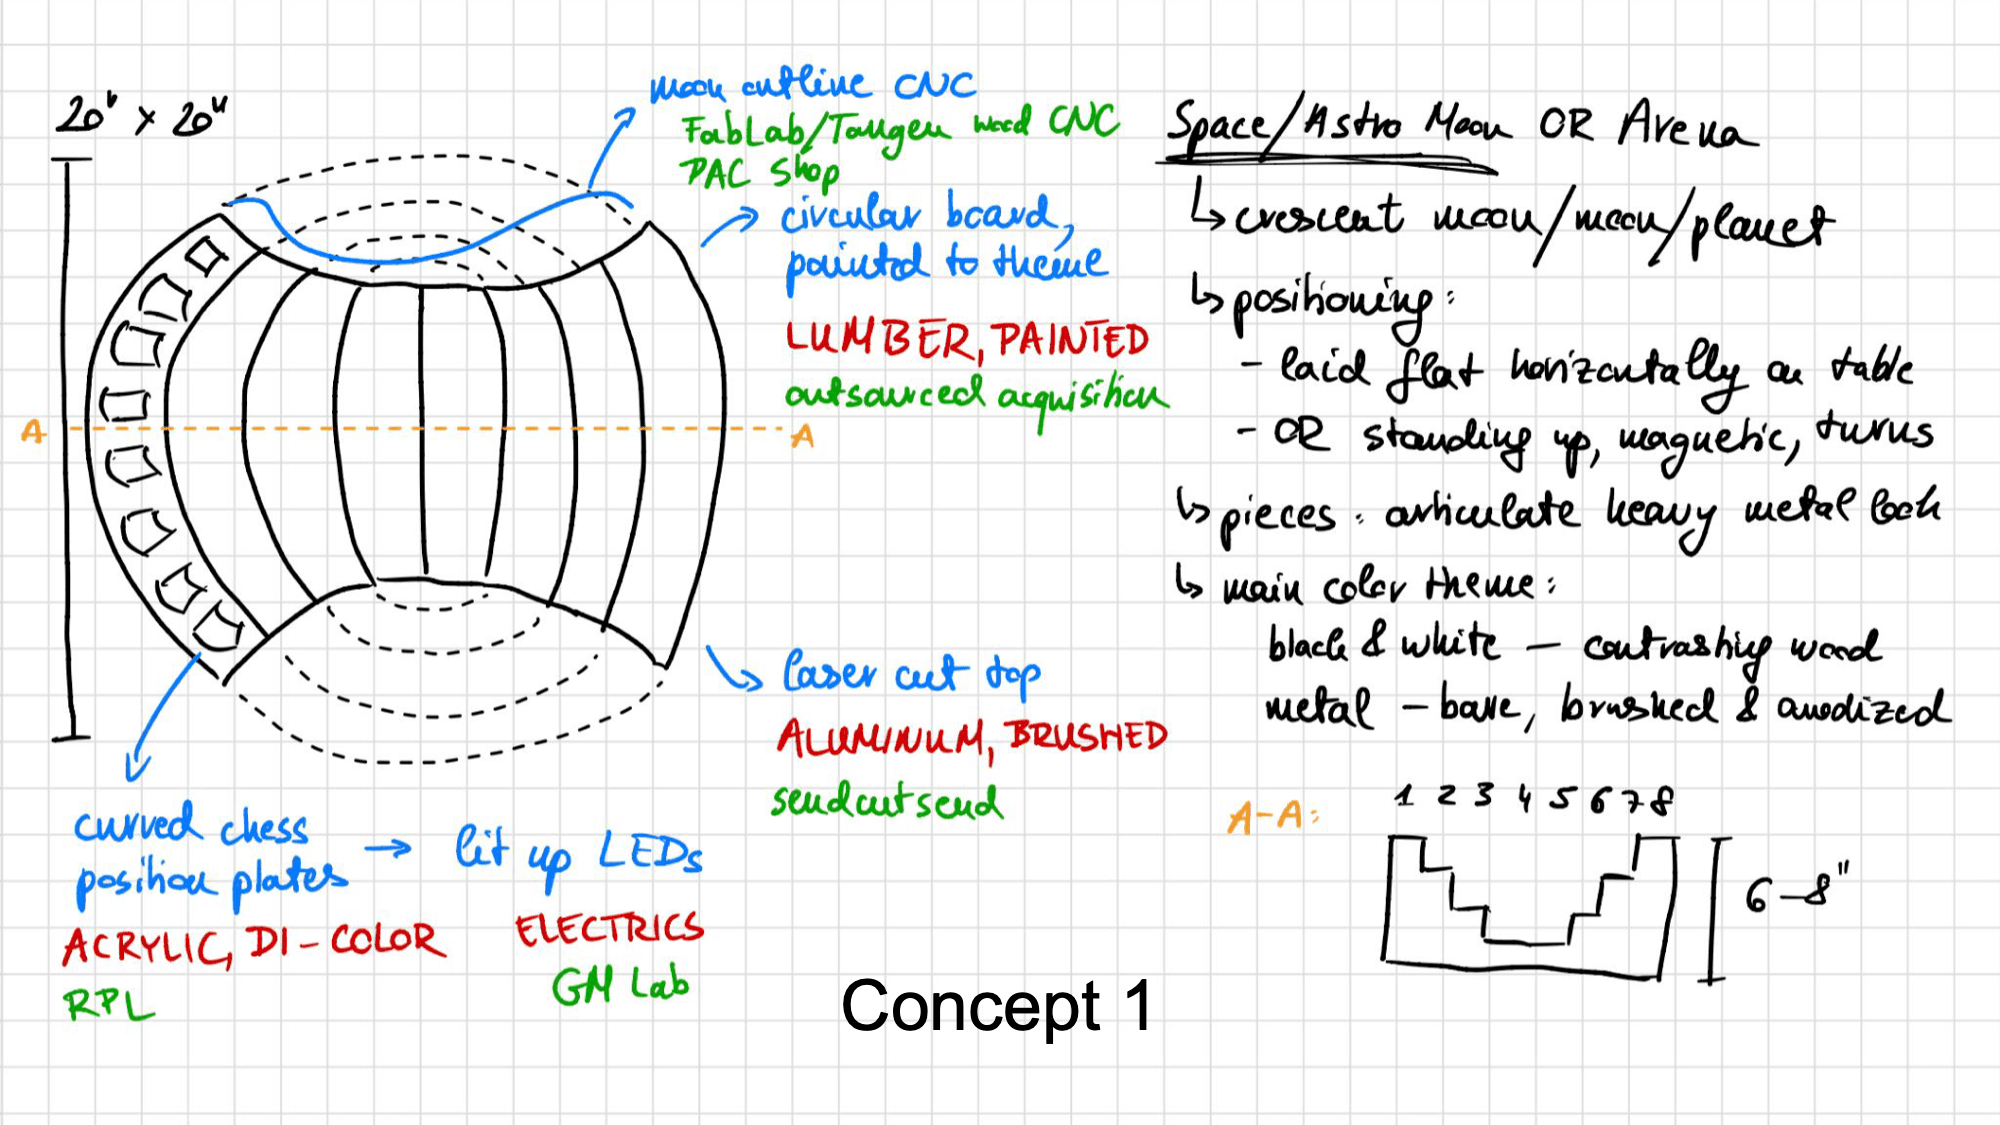
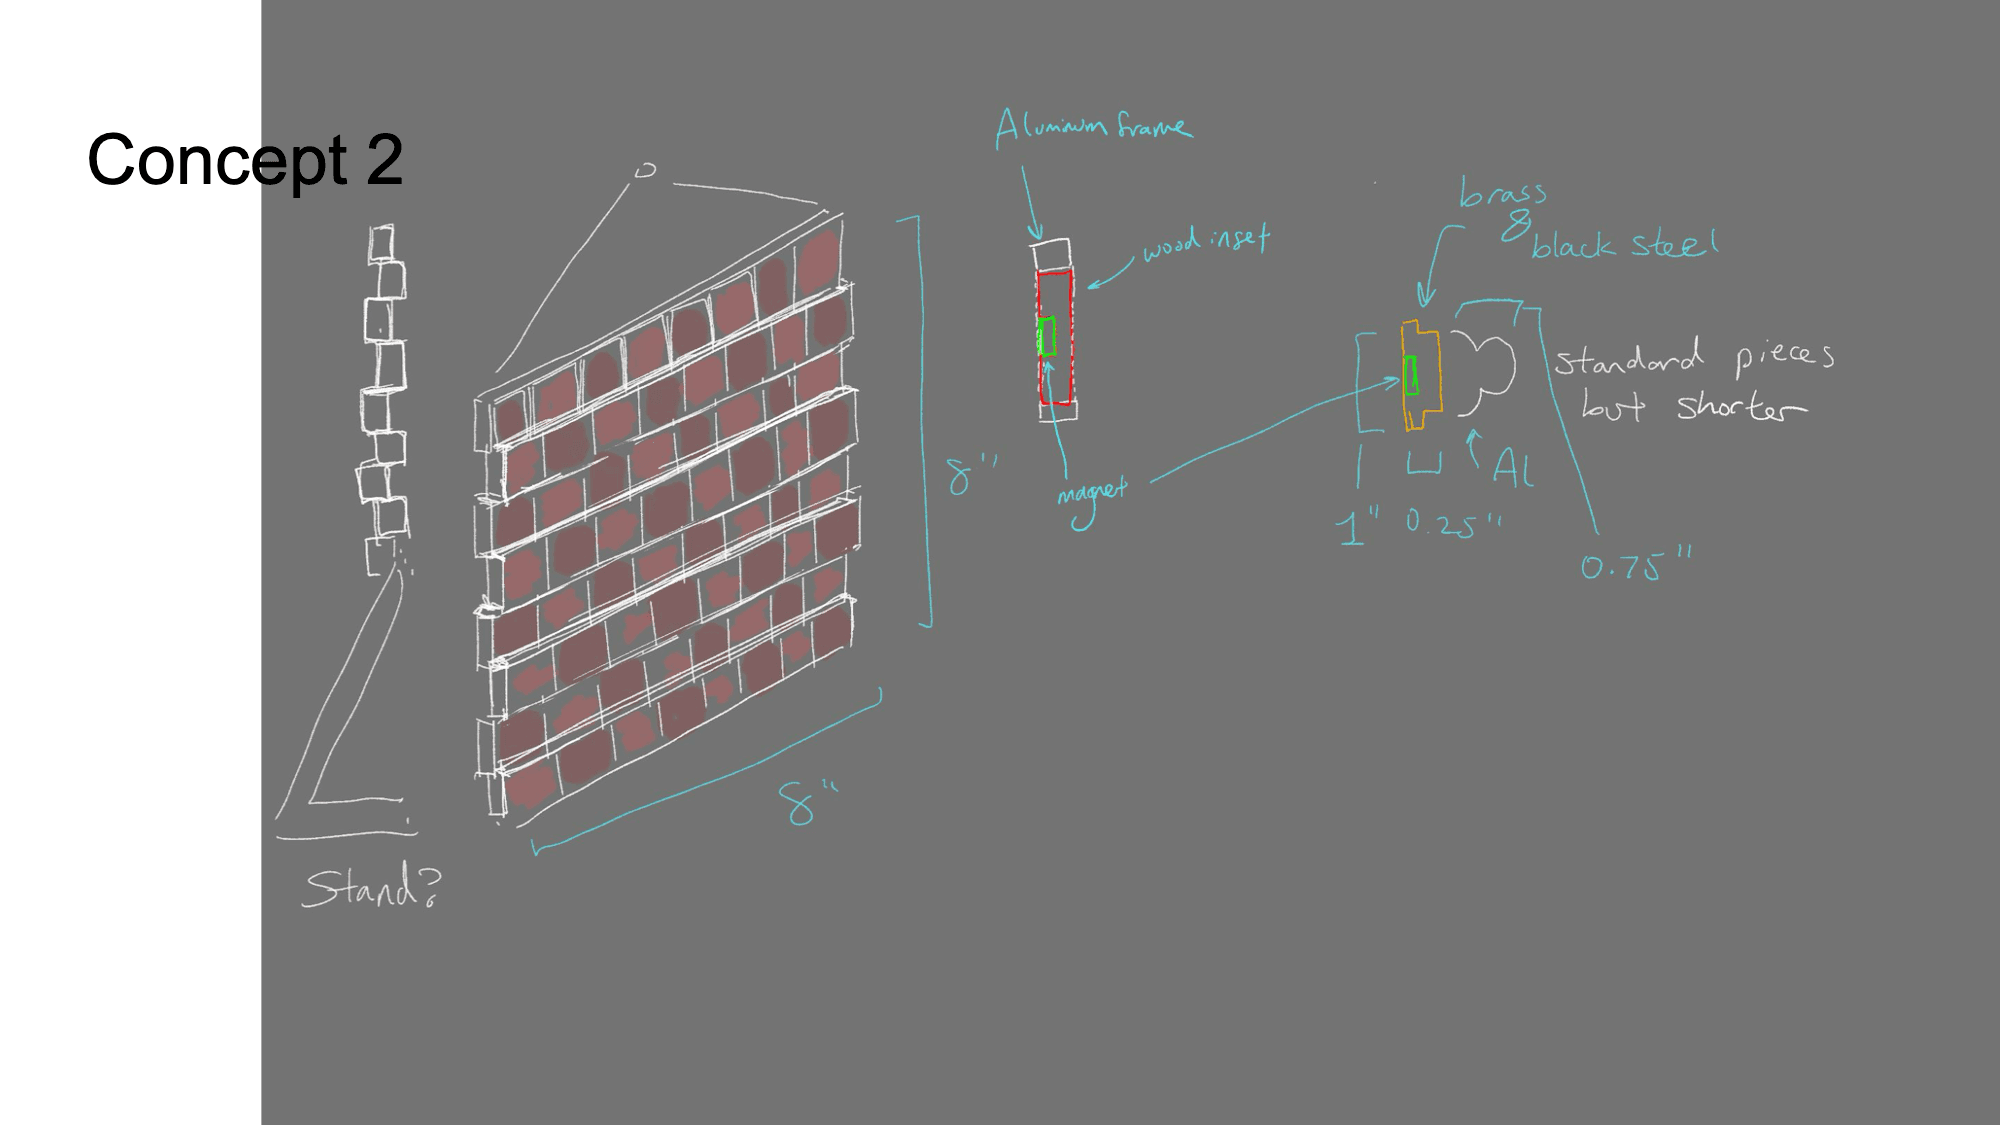
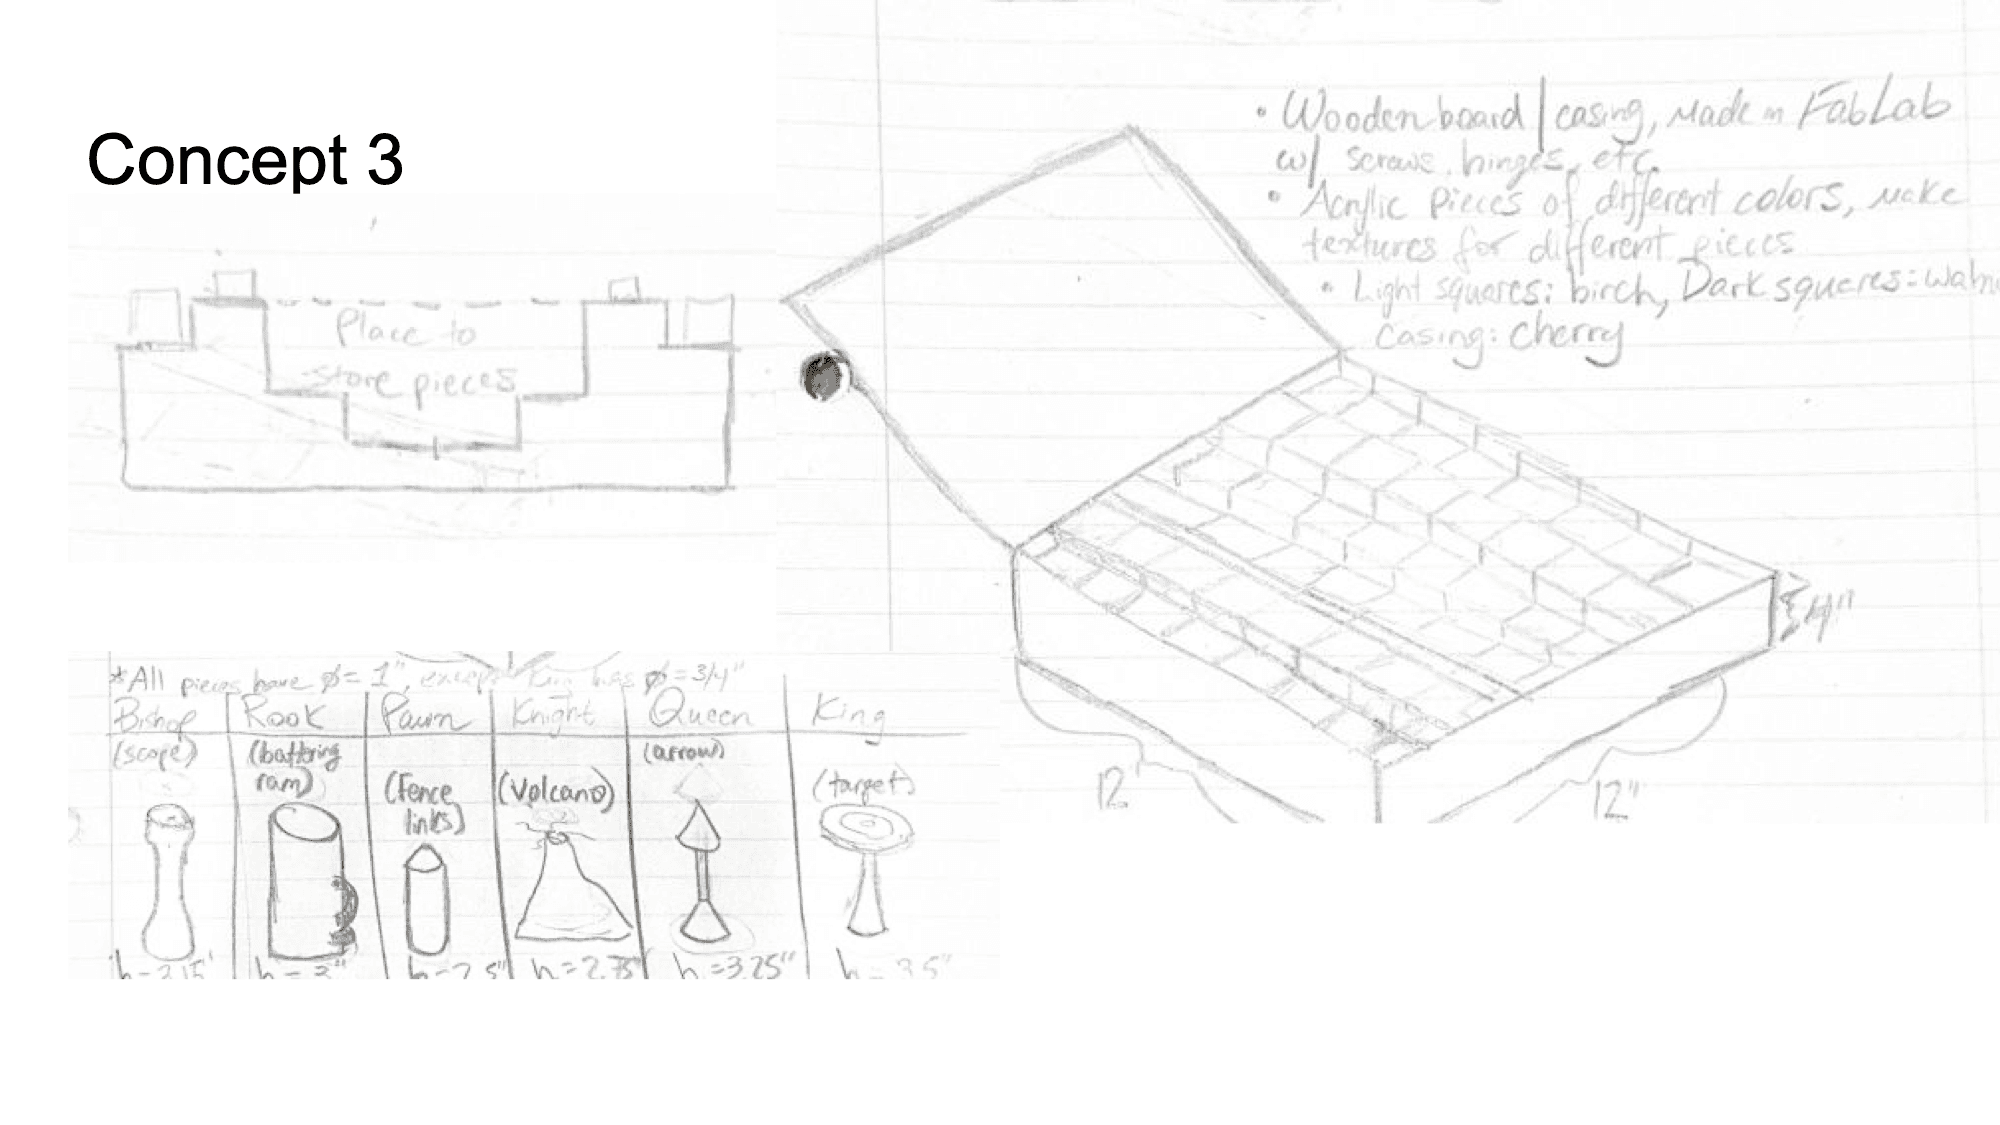
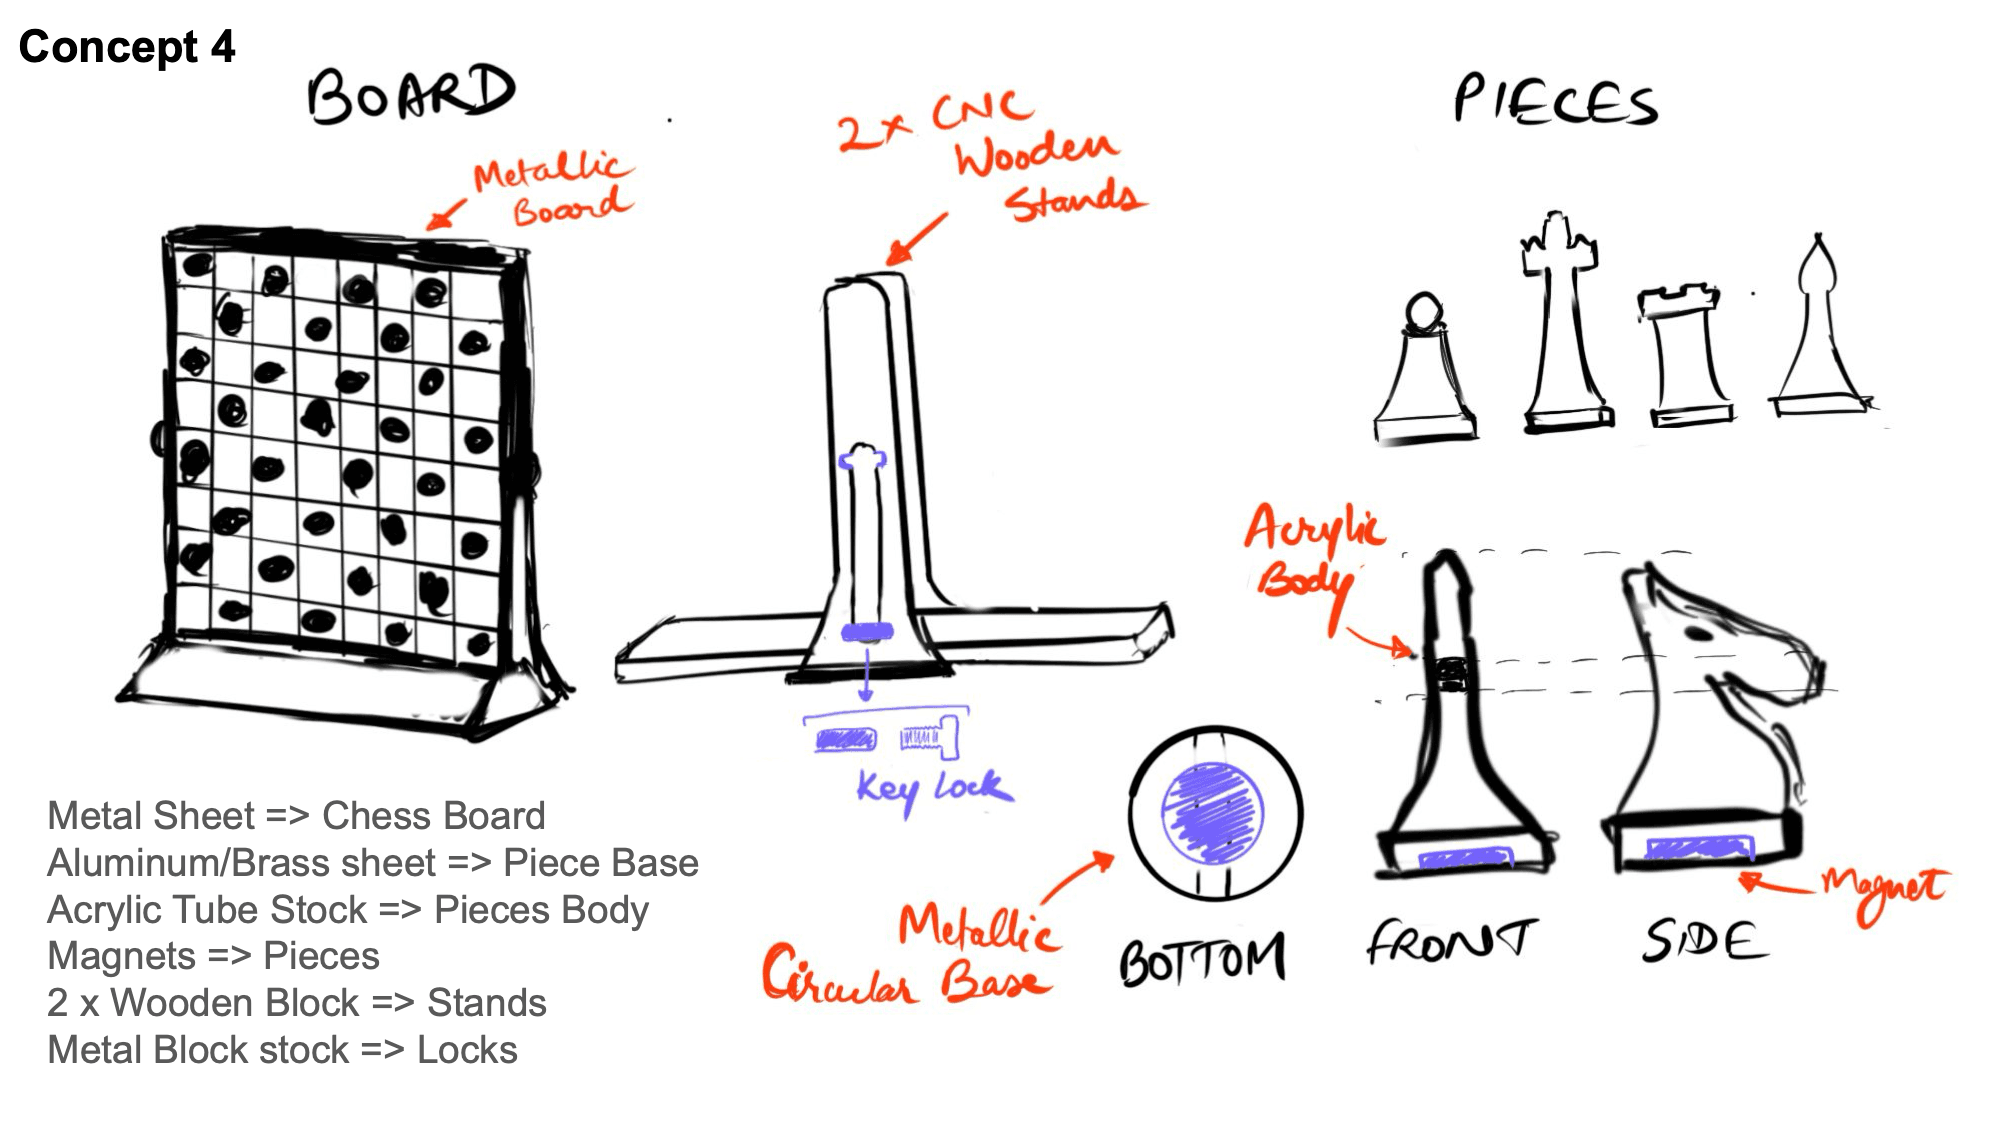
Each of us came up with a concept. The four directions were: a space-themed set, a vertical hanging set with magnetic pieces, a stepped box with easy to store pieces, and my own concept was a transforming set inspired by connect-4 that could be played horizontally or vertically.
02 · final design
Who doesn't love a space-themed chess set?
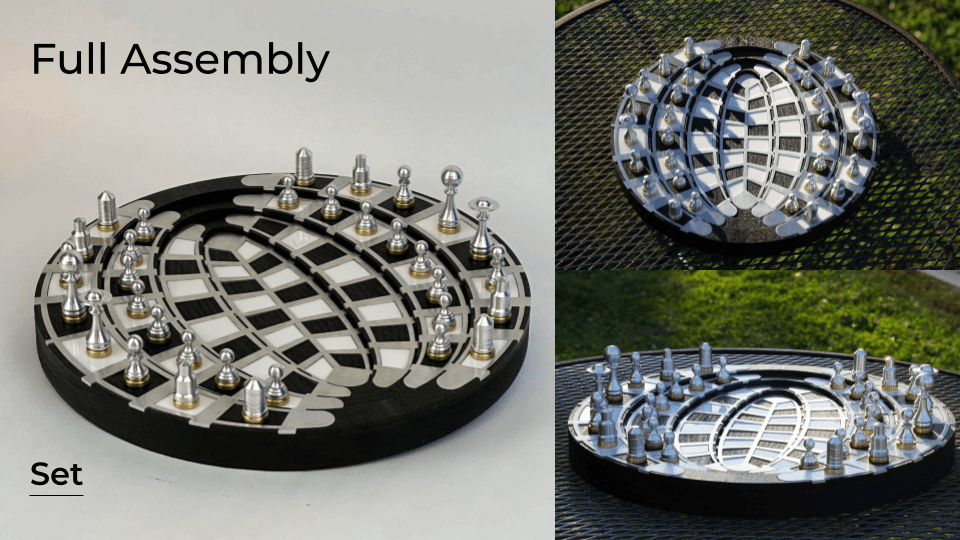
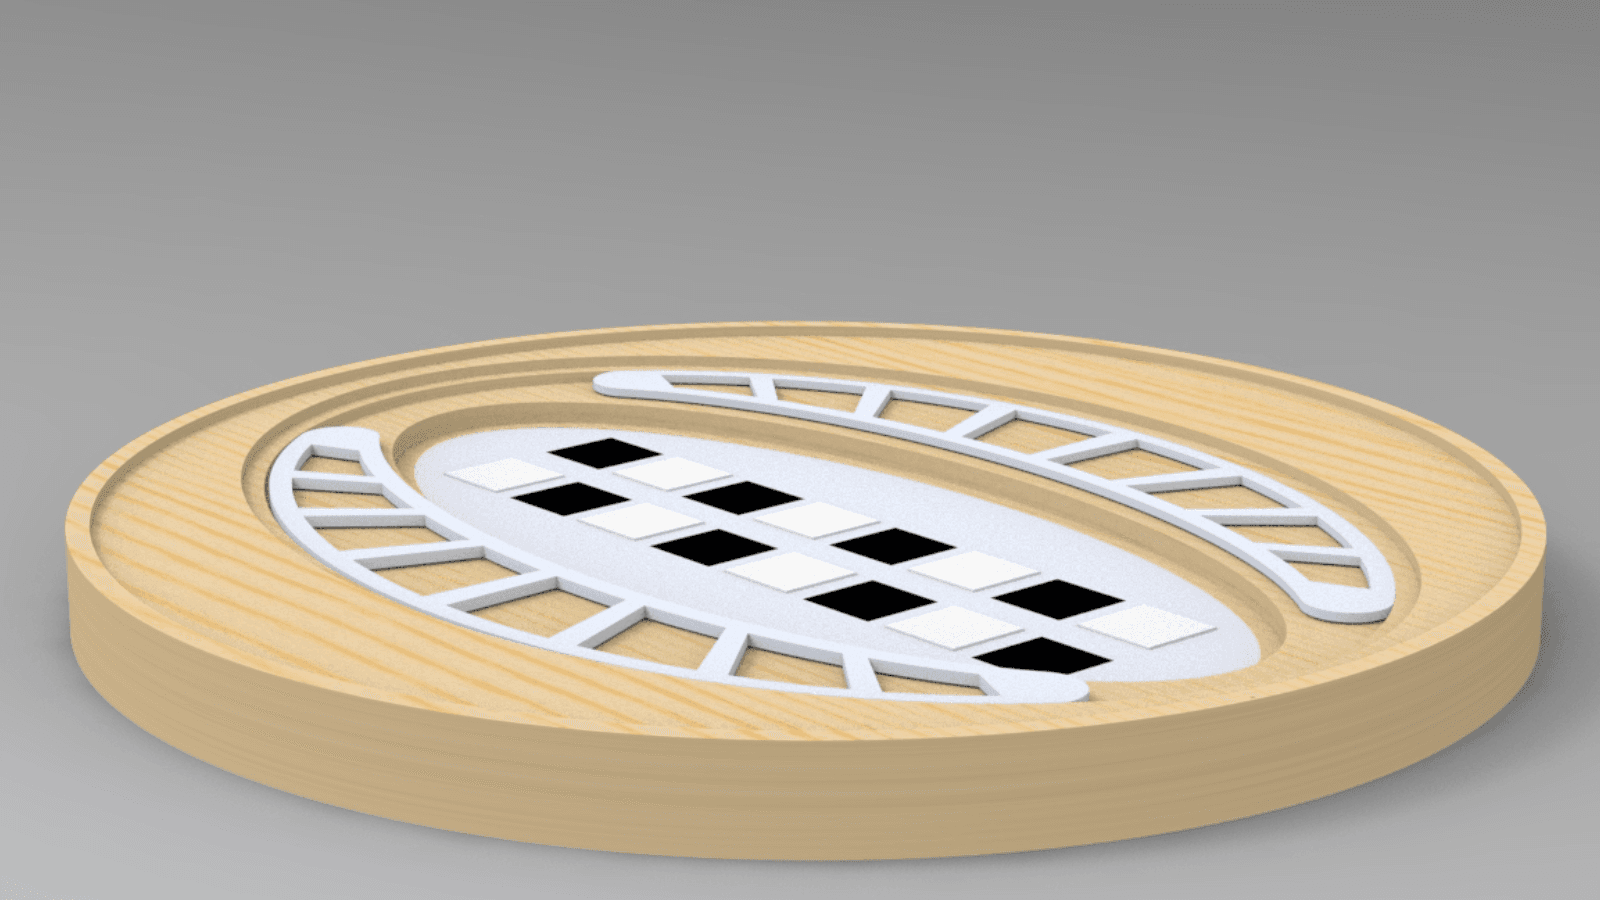
We moved ahead with the space-themed set because that seemed to be coolest of the four ideas and every one liked it. We decided that we would add the step concept to the board and make the pieces as planets or space related objects.
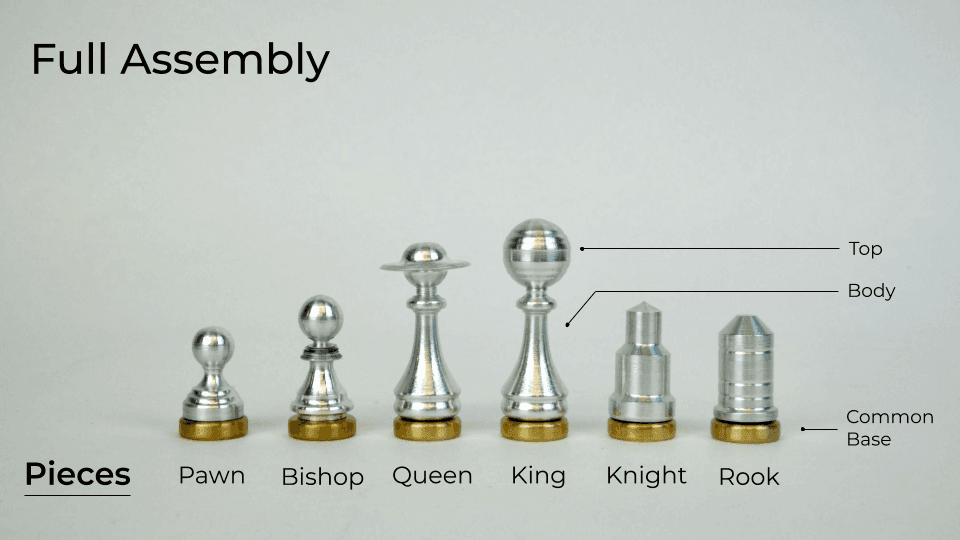
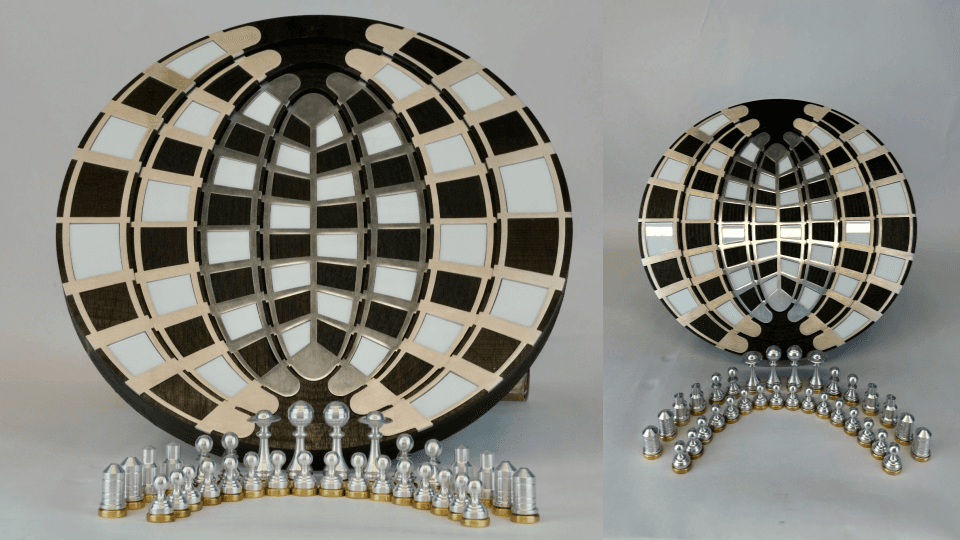
pieces as space objects
King
Jupiter
Queen
Saturn
Pawn
Asteroid
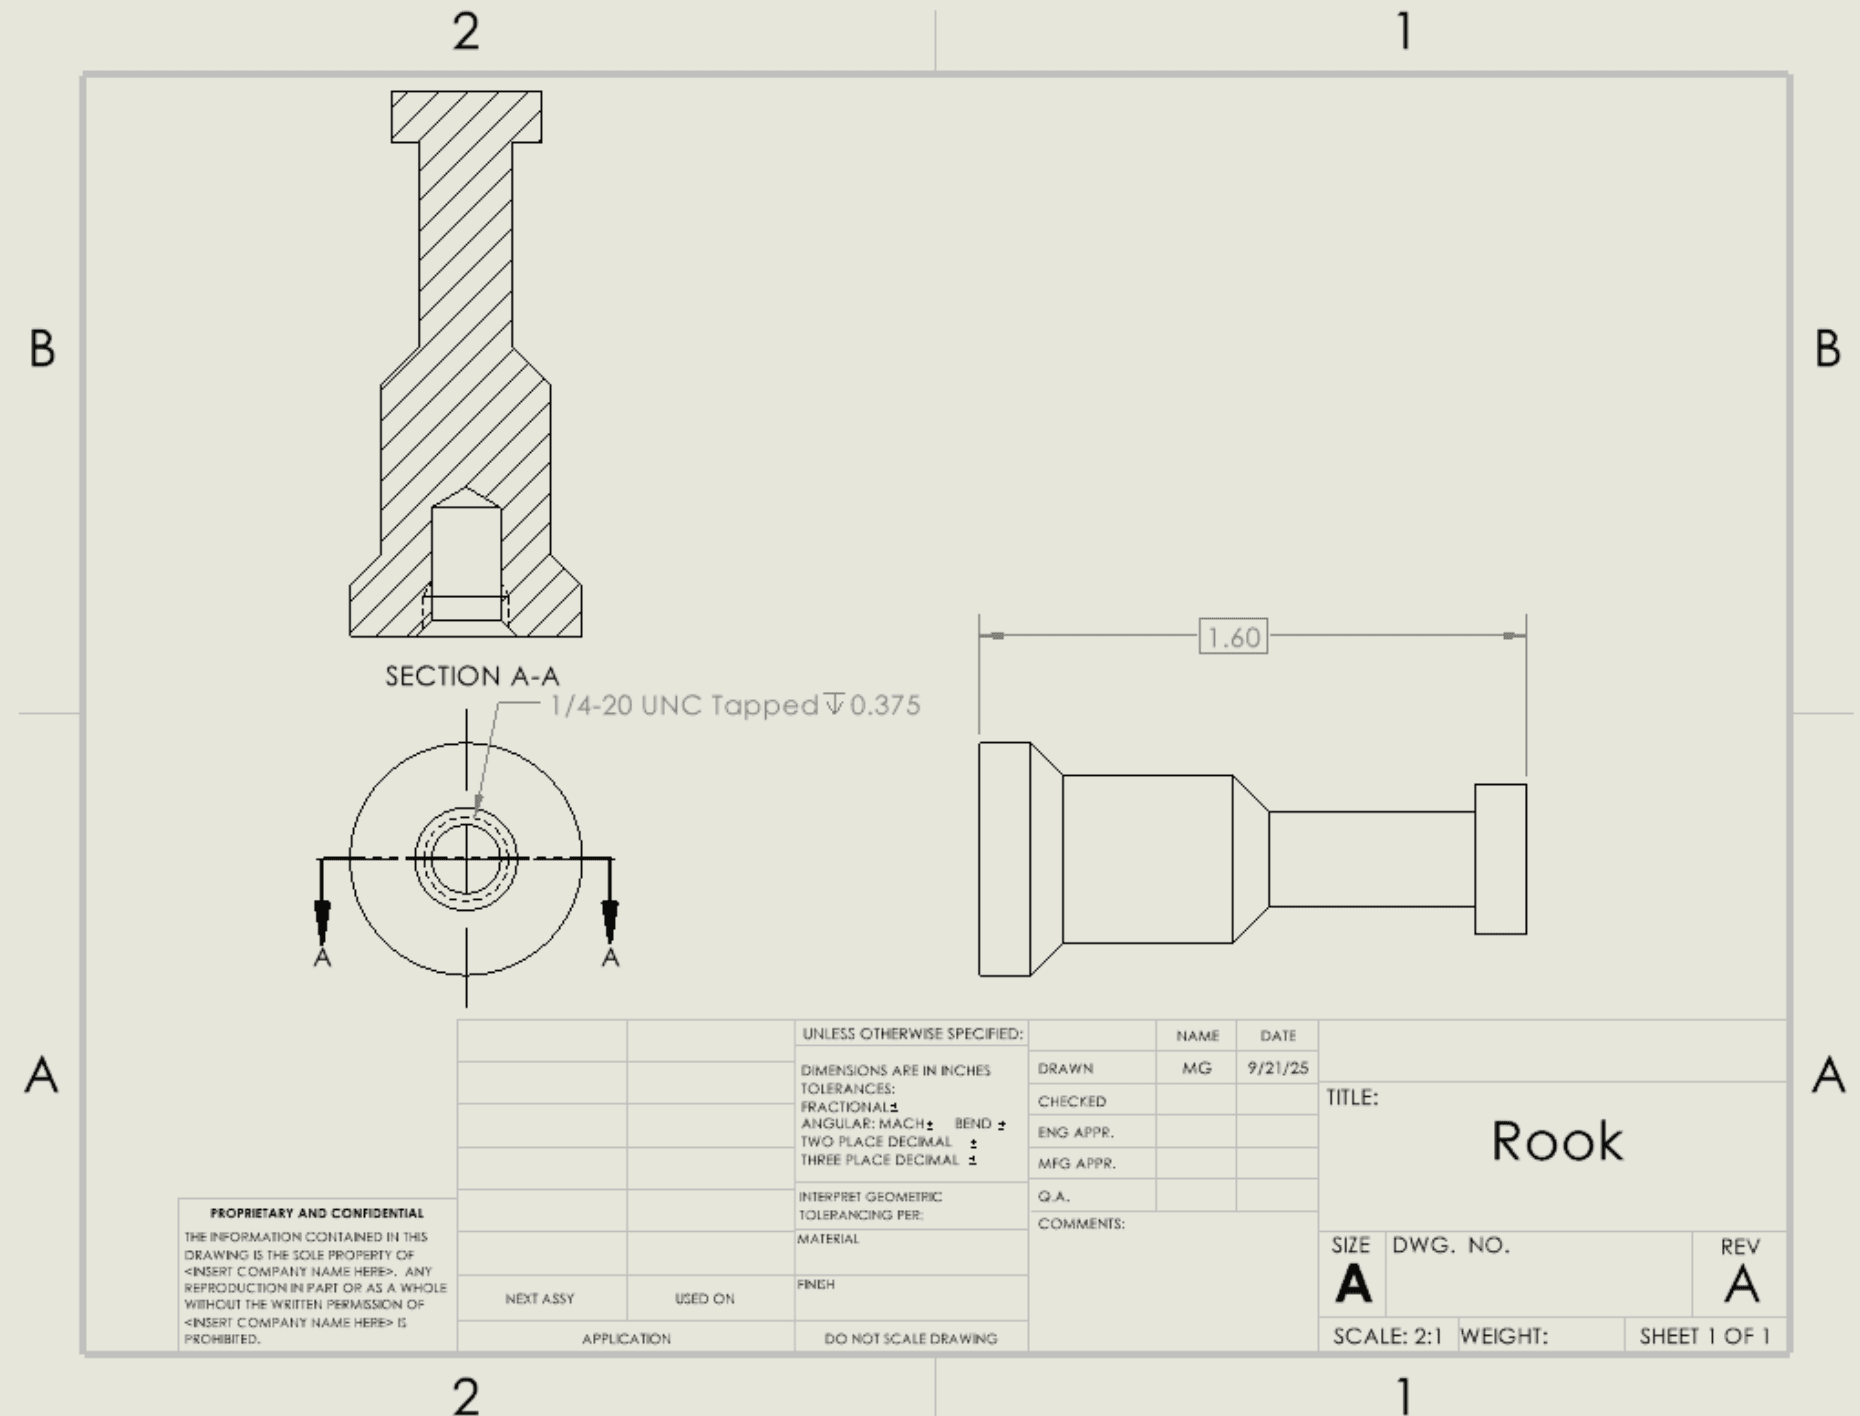
Rook
Rocket
Knight
Satellite
Bishop
Neptune
Pieces
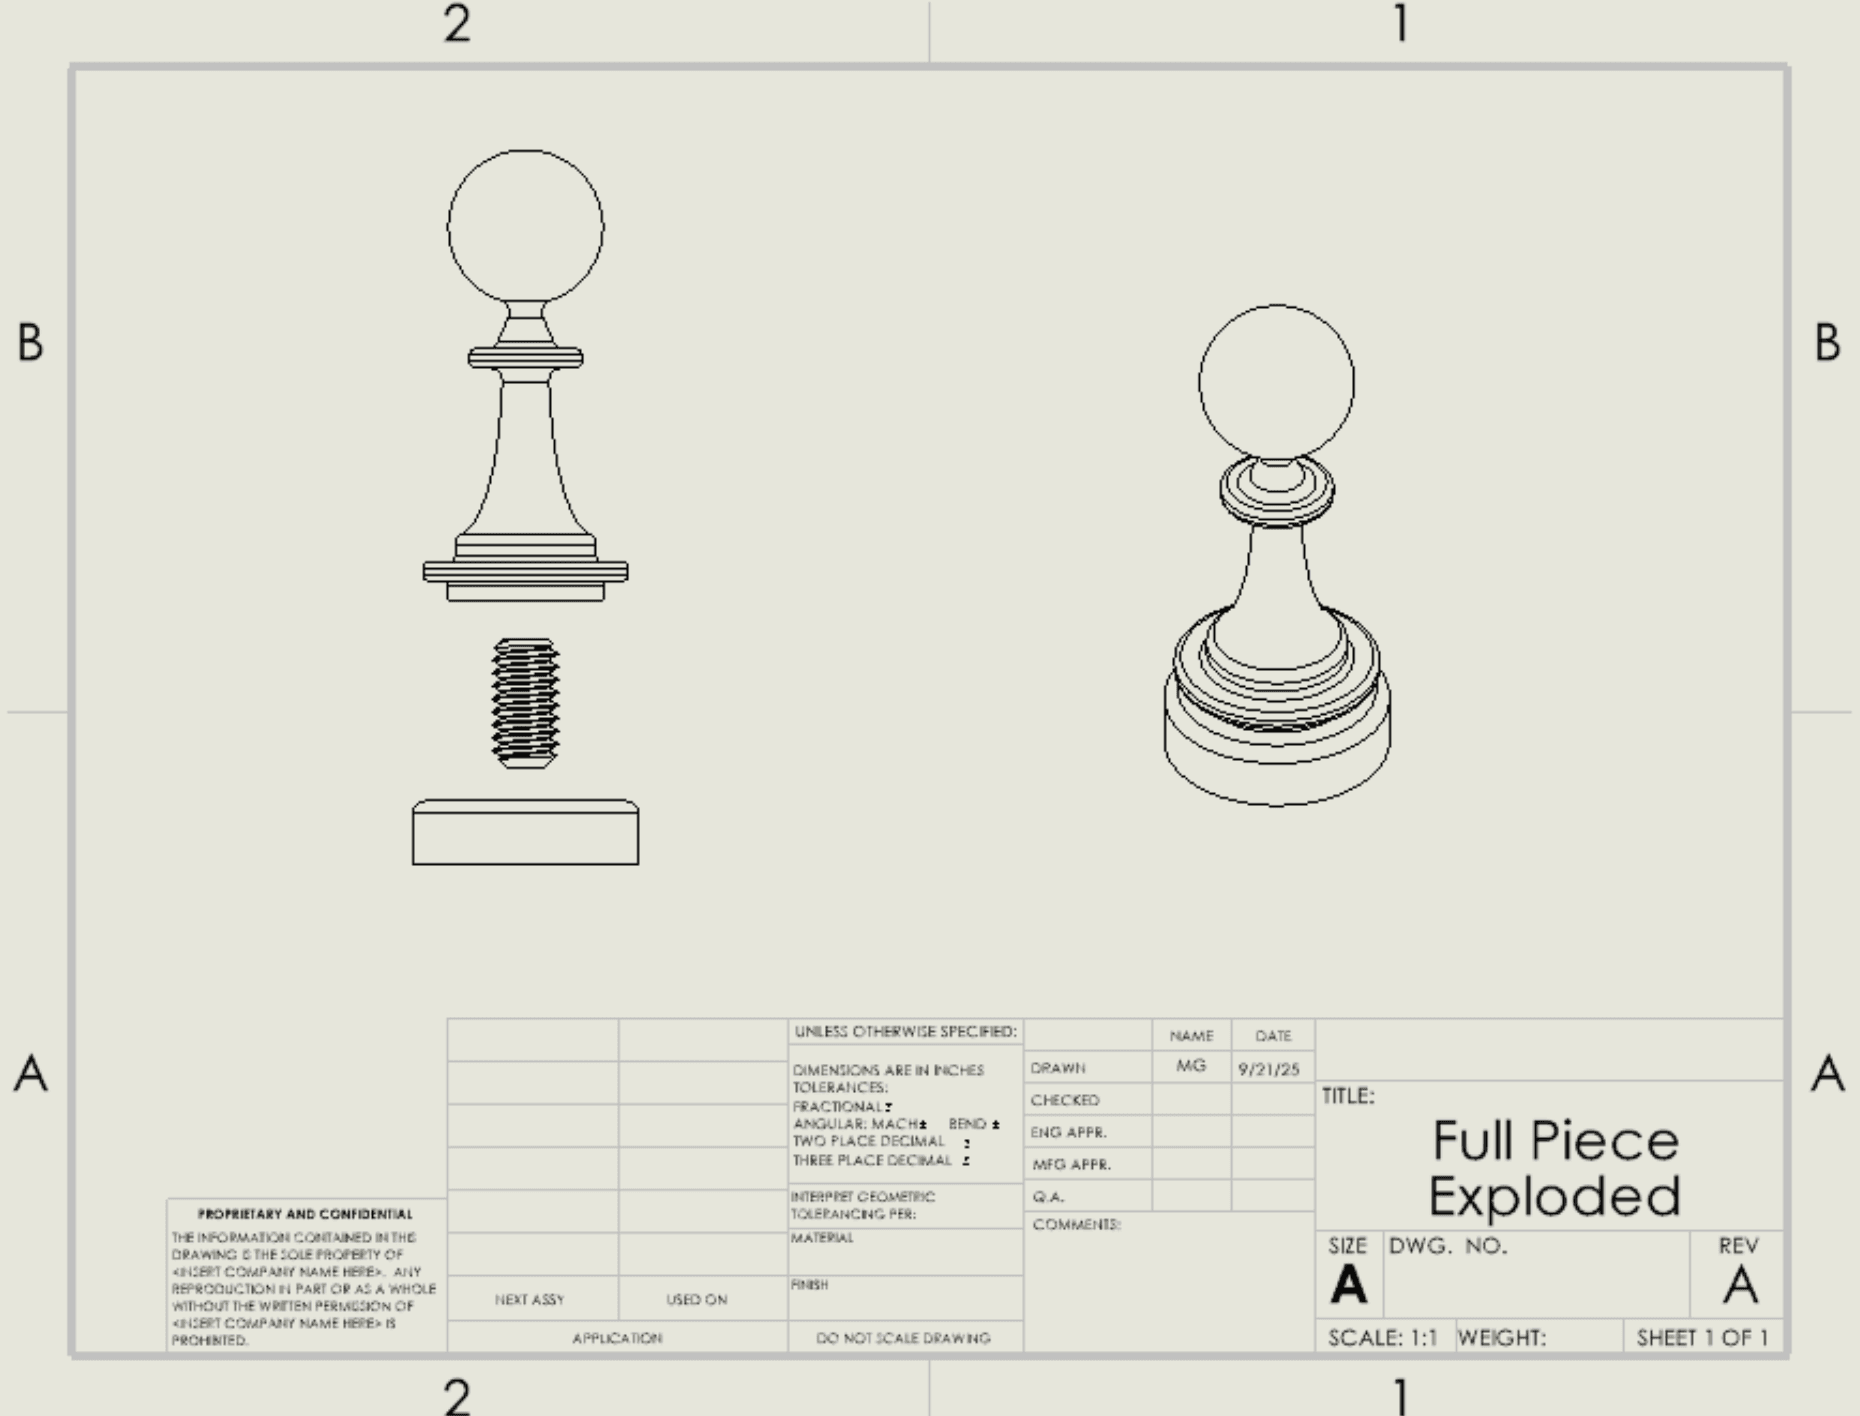
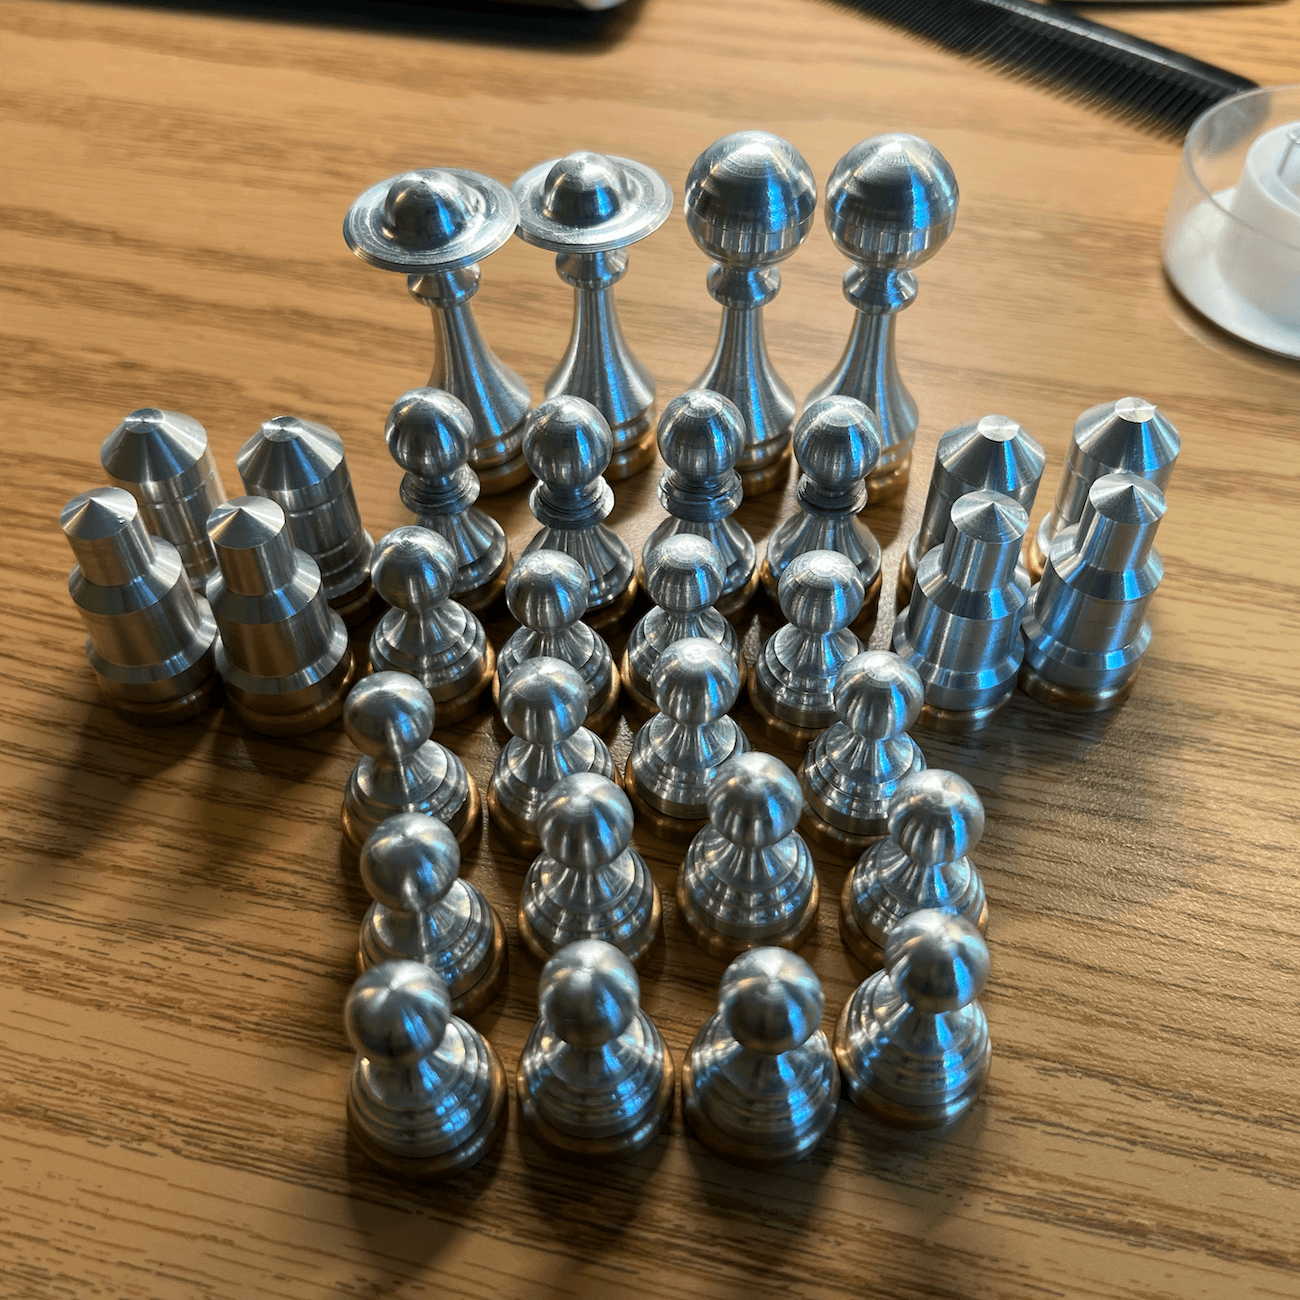
Each piece was planned as a two- or three-part assembly: a turned aluminum body, threaded connection, anodized head or detail, and a base that gave the set its weight.
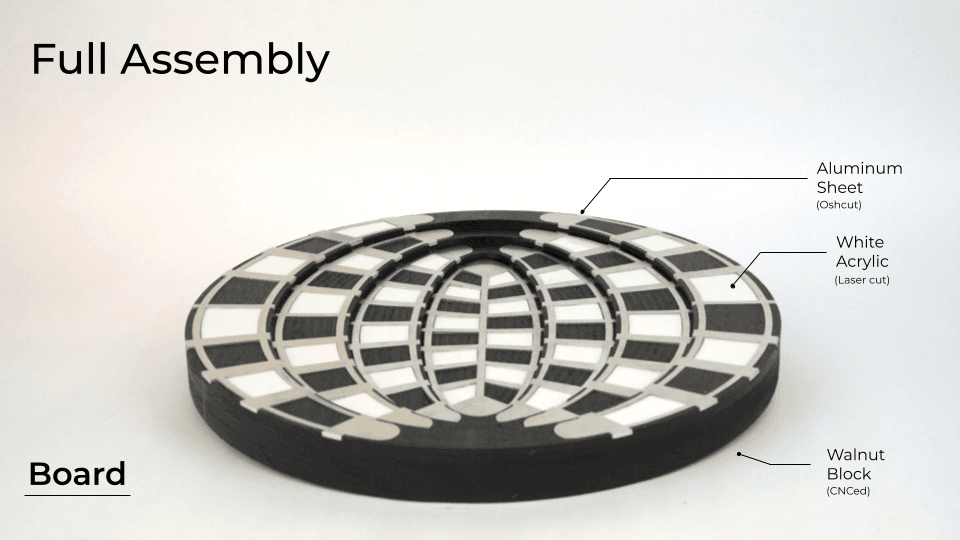
Board
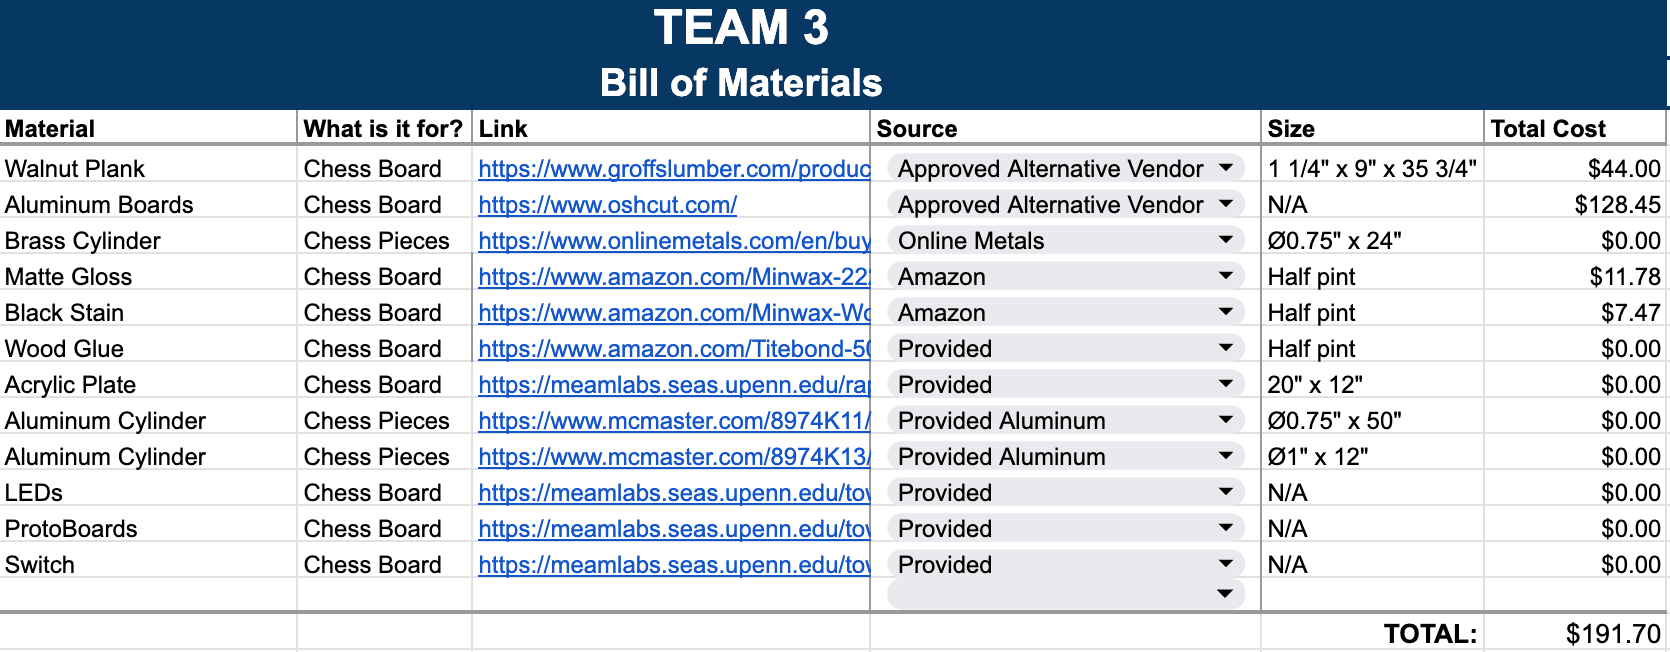
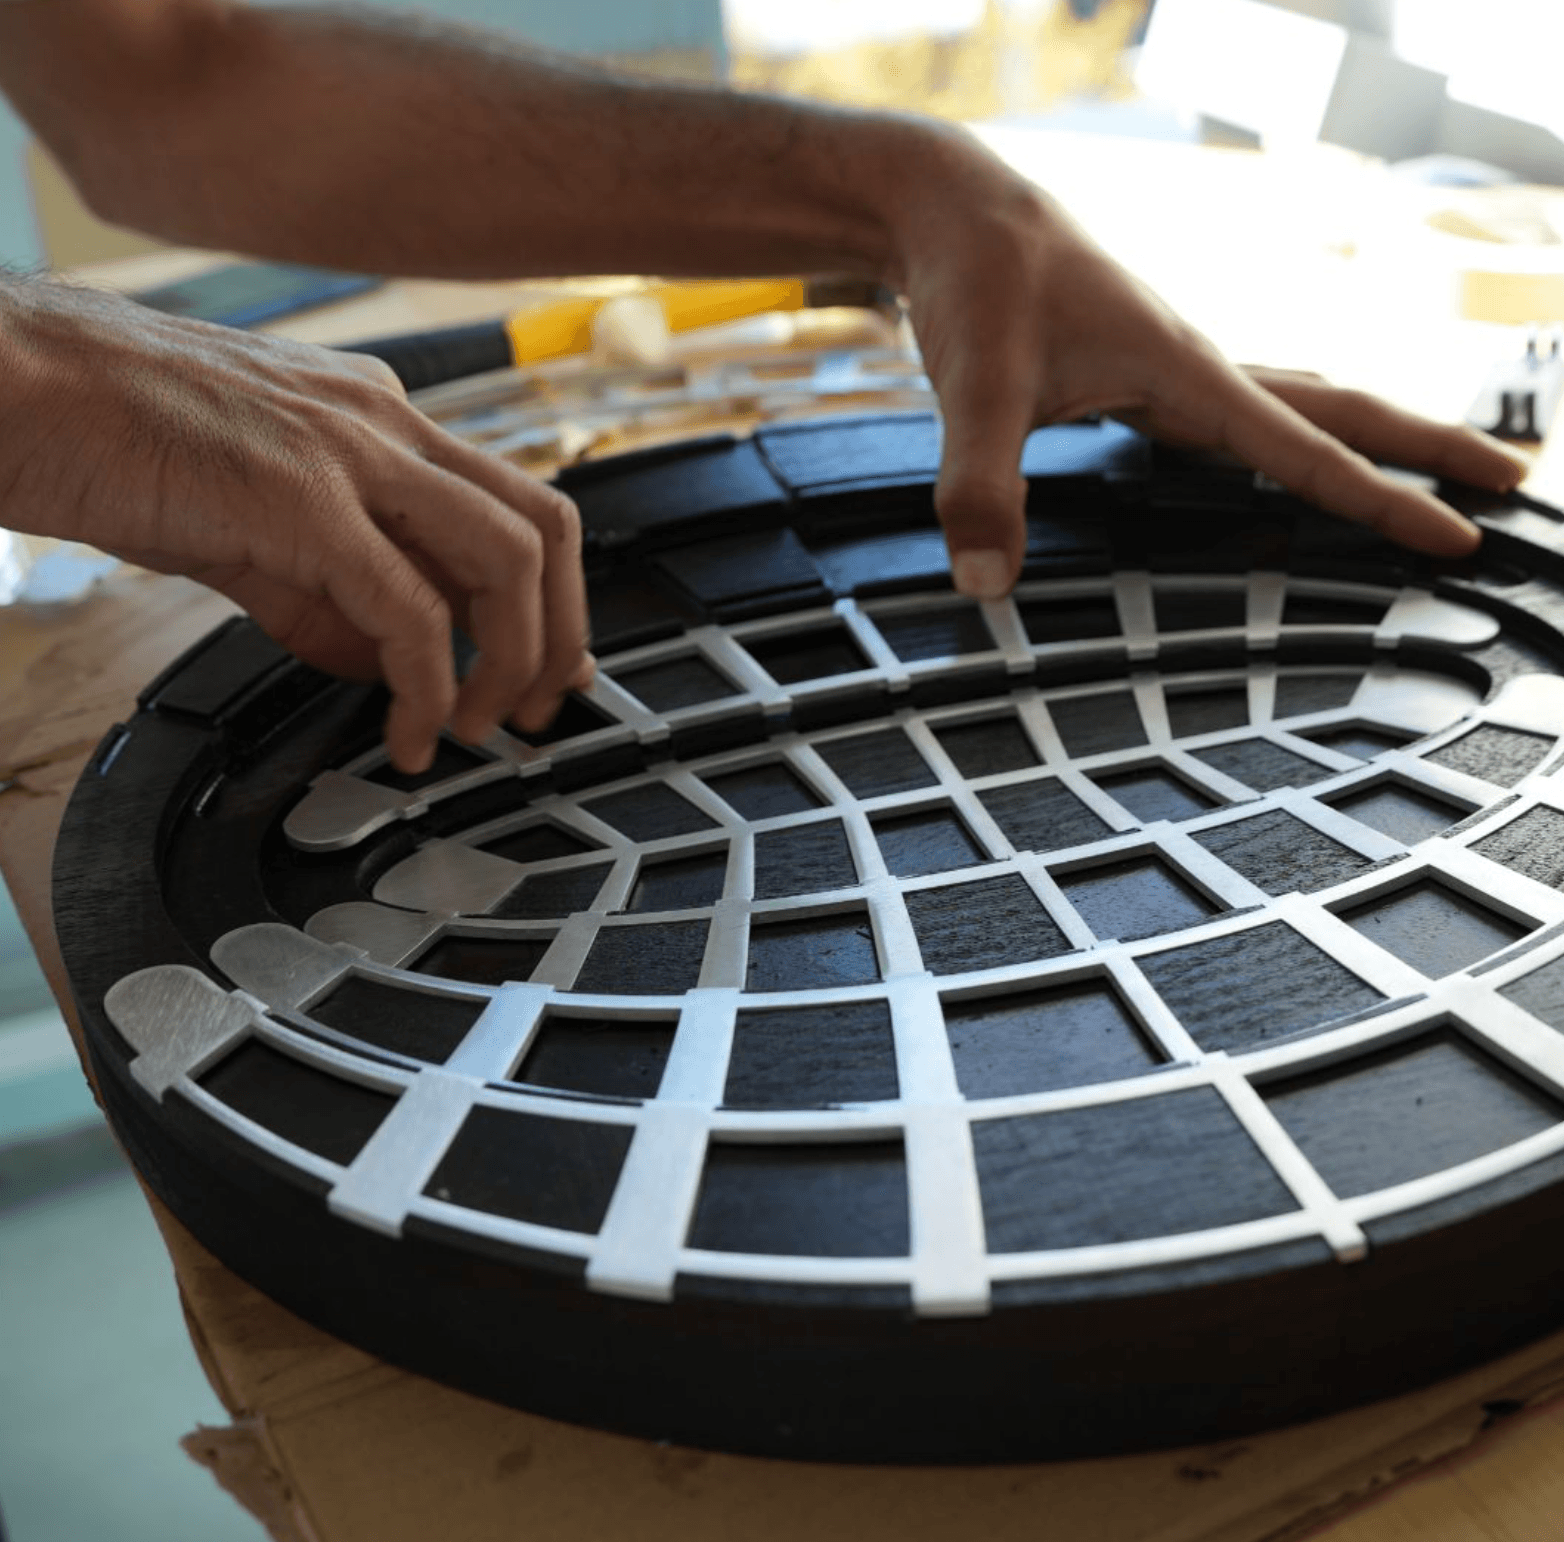
The board combined ordered aluminum inserts, laser-cut acrylic, and a CNC-routed wooden base that we would machine and finish ourselves.
Manufacturing
The design had to work across the tools available to us: lathe-turned pieces, routed wood, laser-cut acrylic, anodized parts, and a lot of hand fitting.
Material contrast
Walnut kept the board warm, while aluminum, brass, acrylic, and anodizing gave the pieces a more space-object feel.
03 · manufacturing
Making the board and pieces
The final set came together across a few different processes: CNC routing for the board, lathe work for the pieces, ordered metal inserts, laser-cut acrylic, anodizing, and hand finishing.
Board
Toolpaths first, then a slow cut.
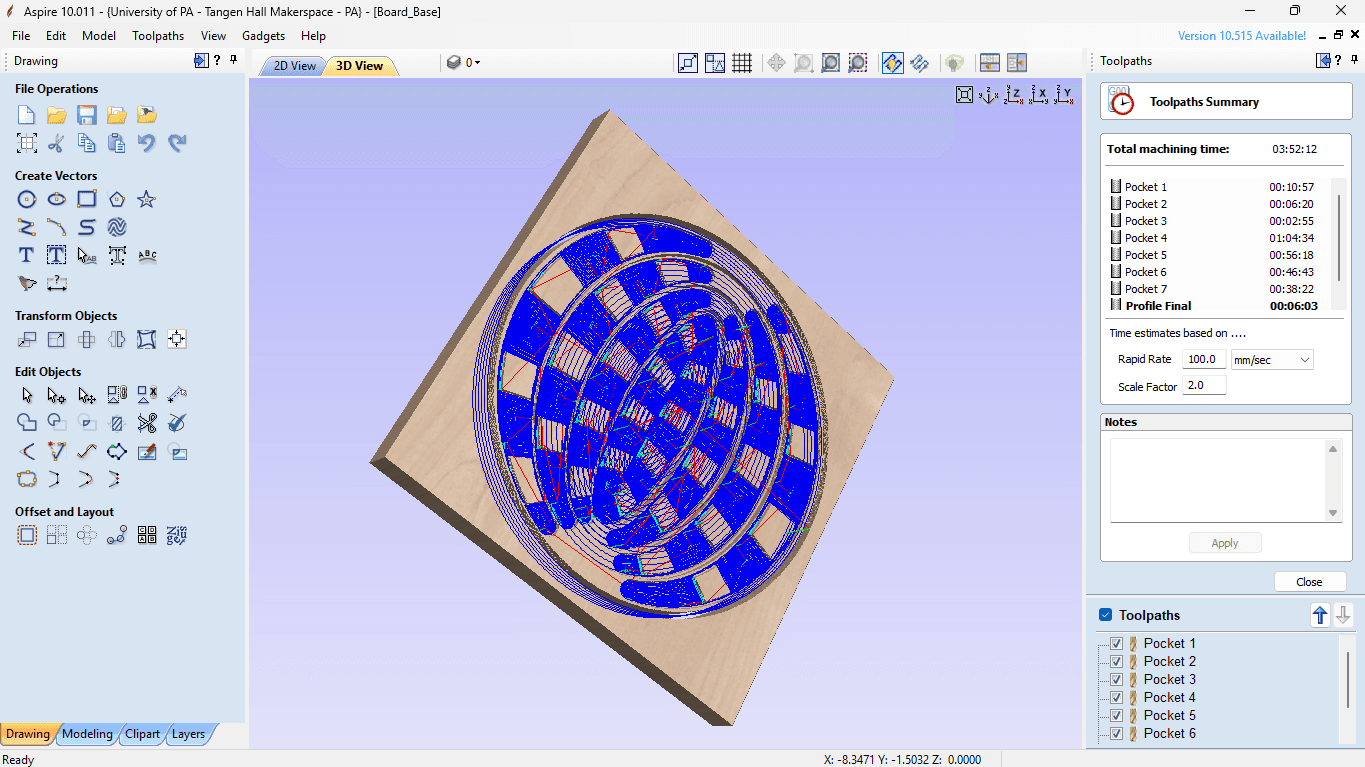
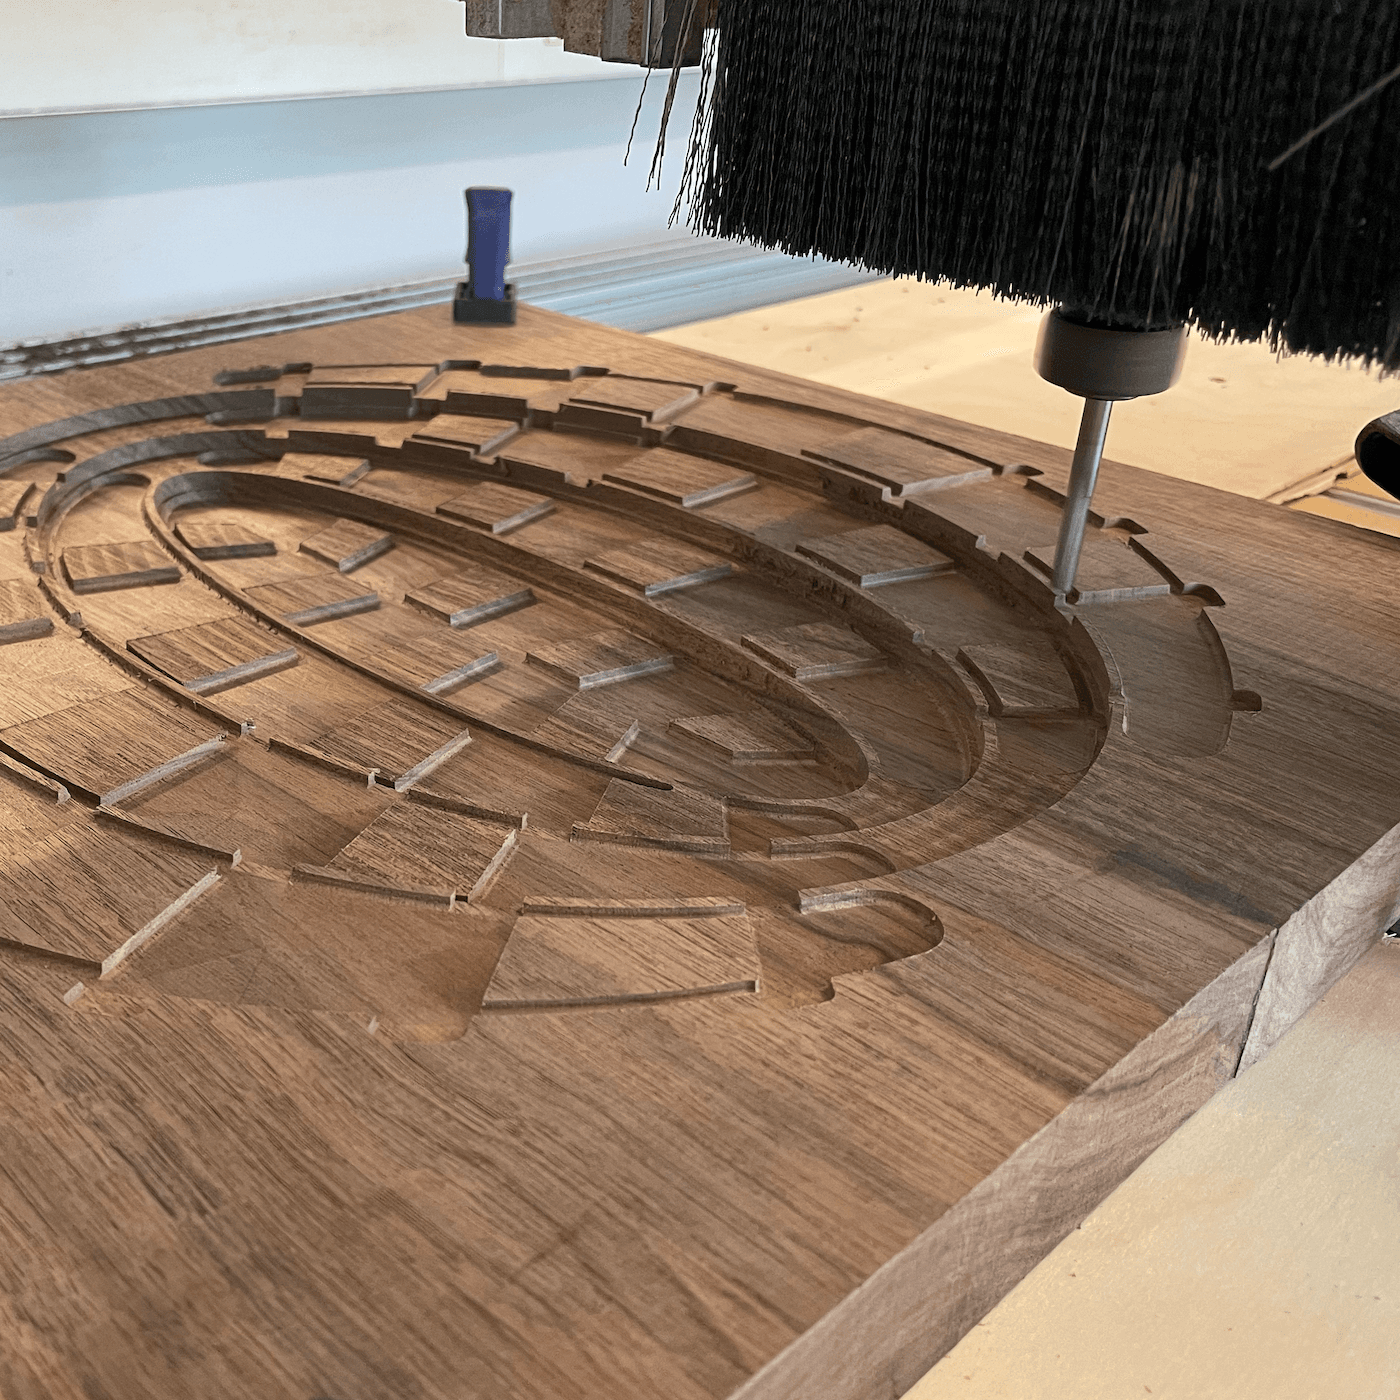
I created the toolpaths in Aspire CNC before we committed the walnut board to the router.
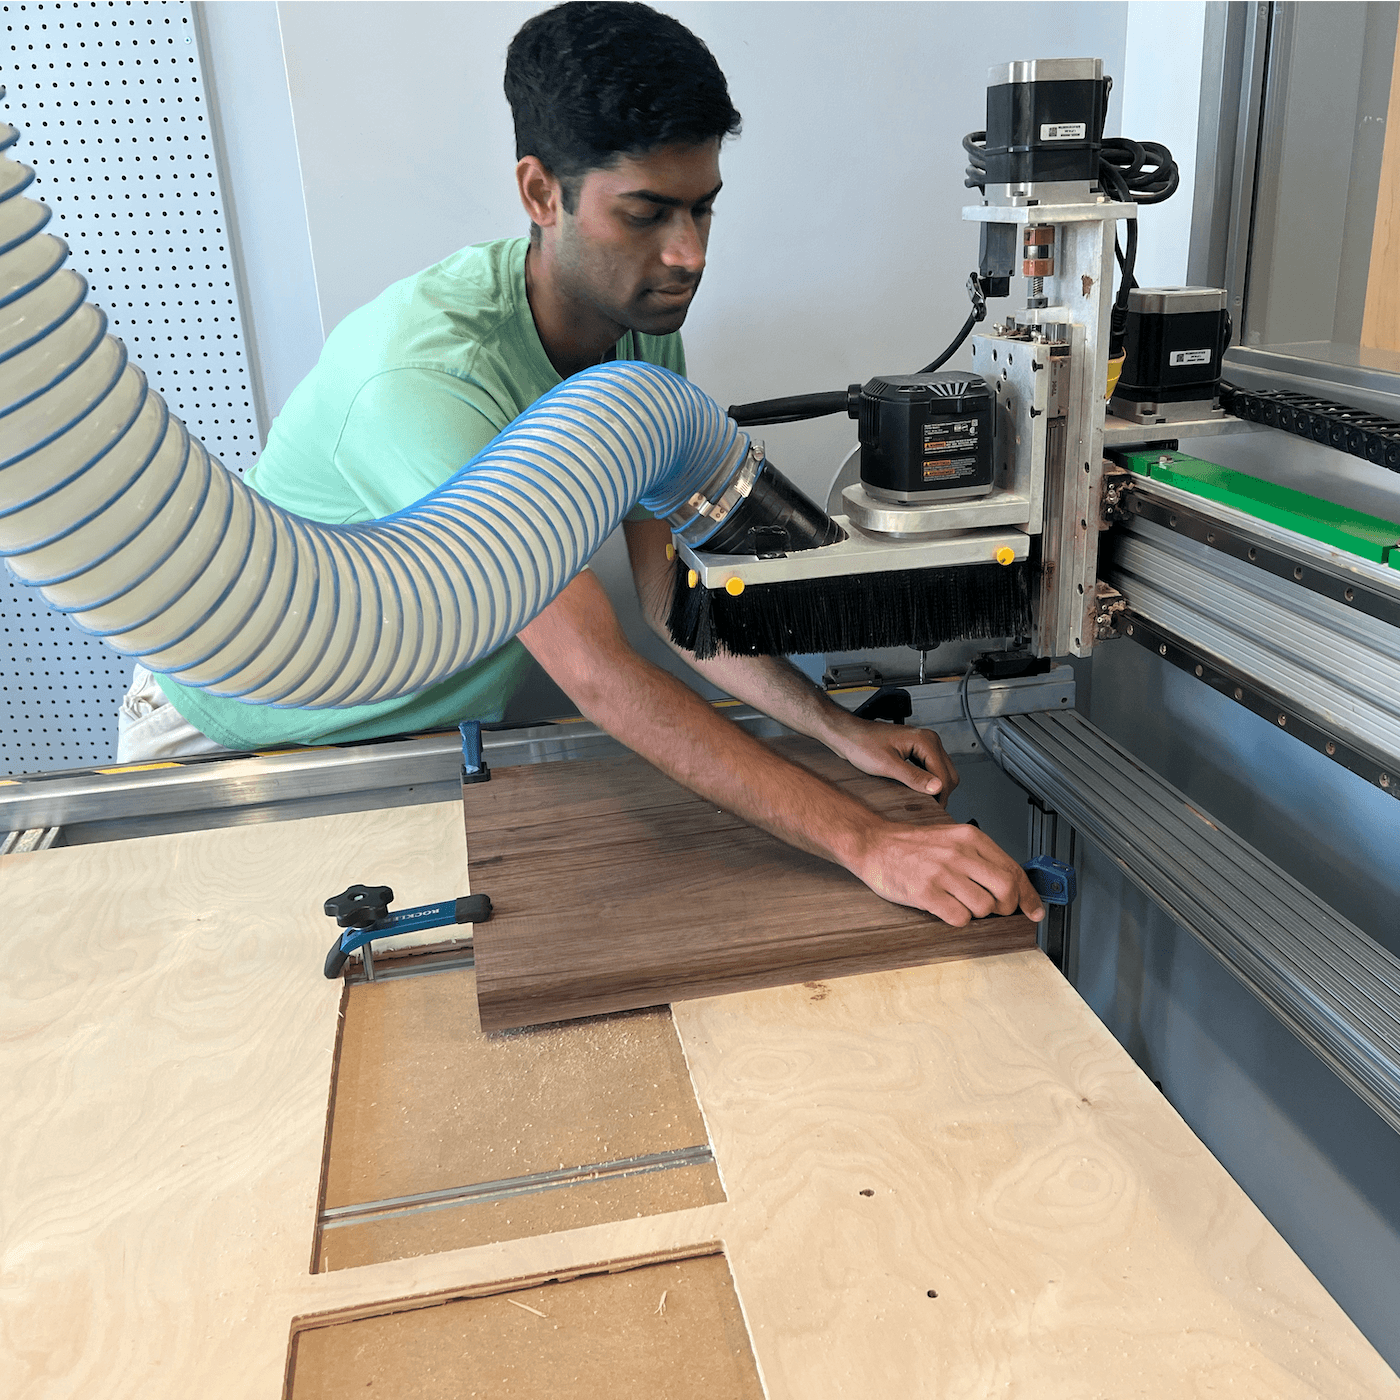
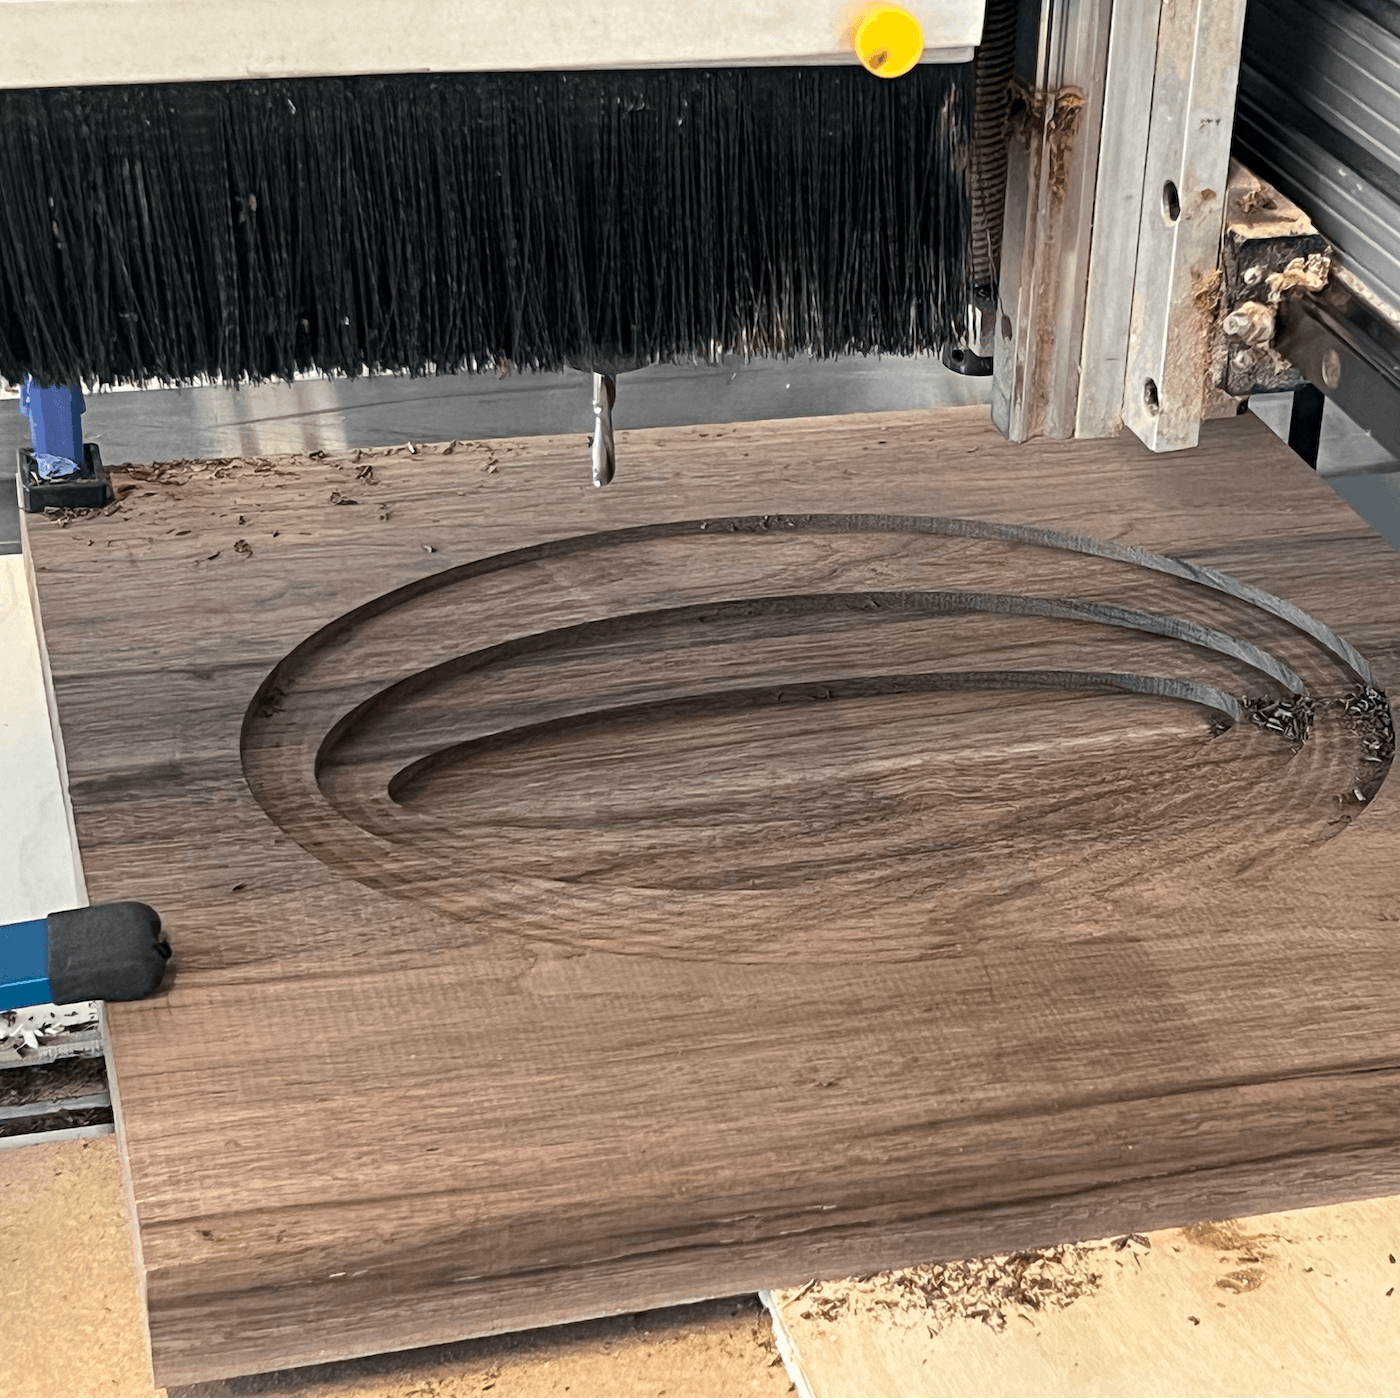
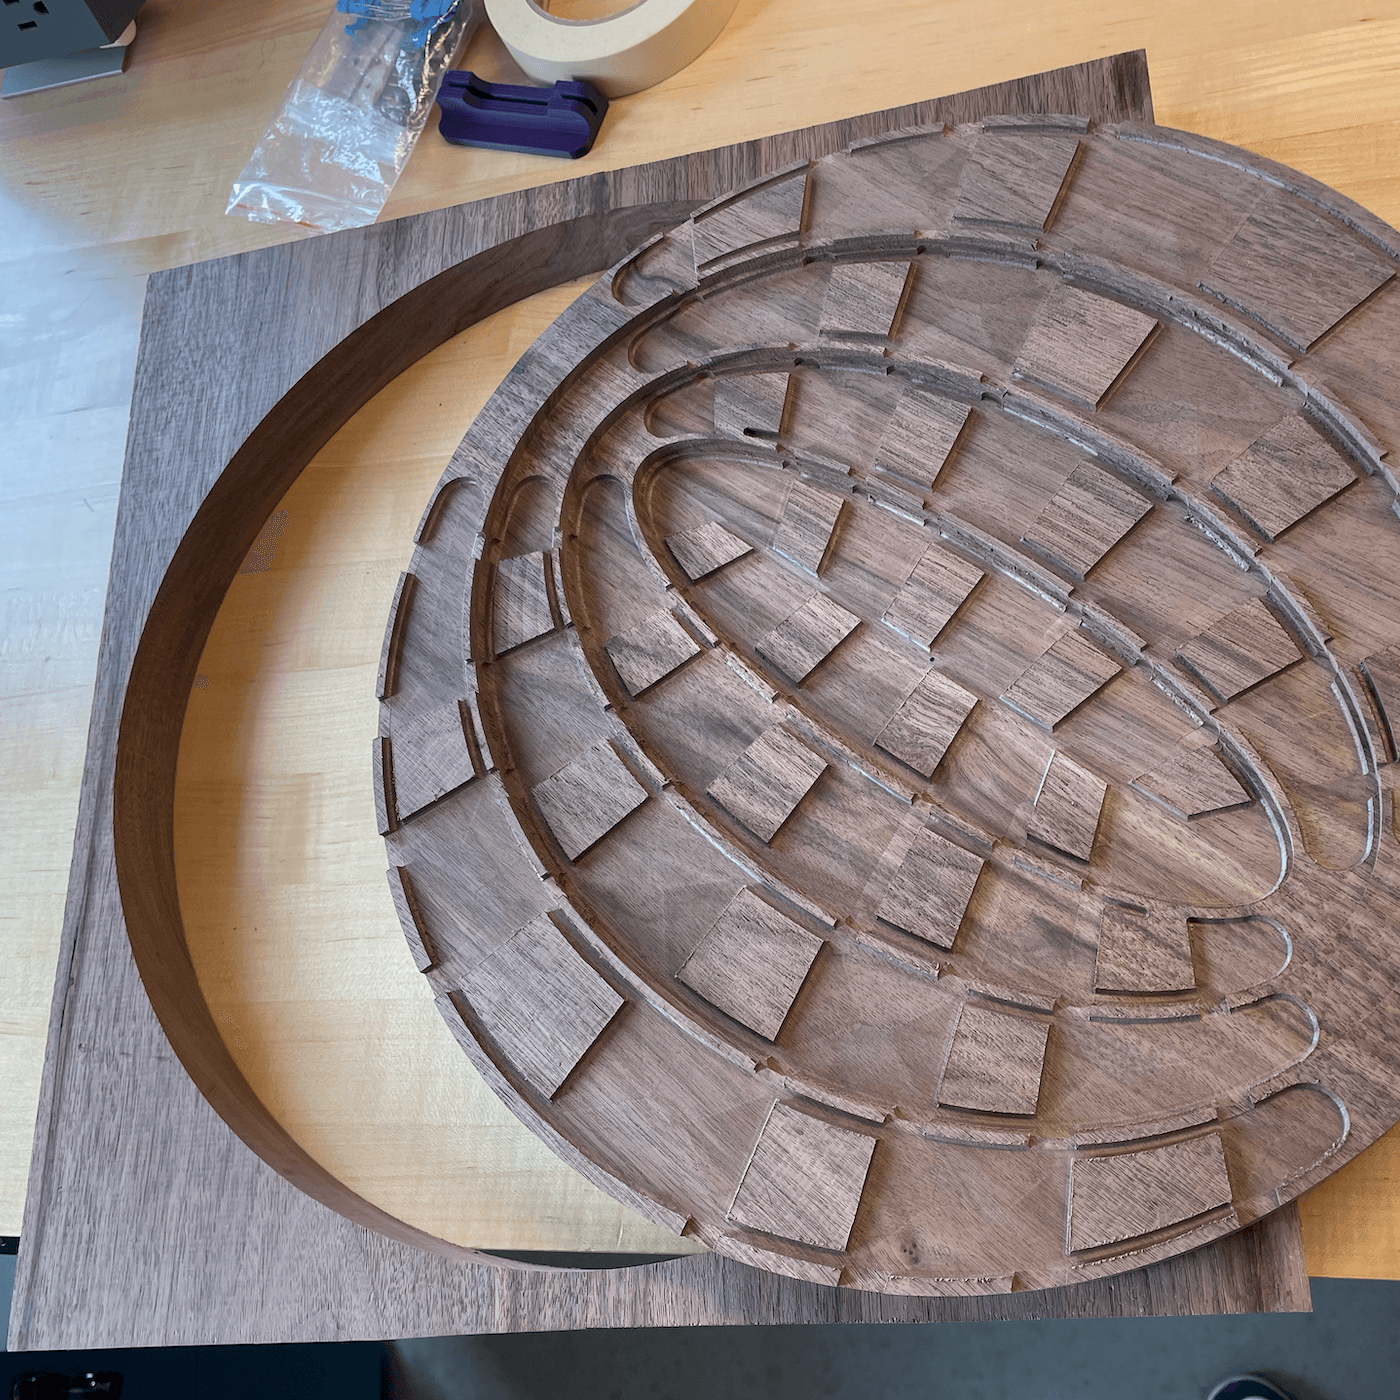
We cut the board with a 1/8 inch ball nose bit. The full job took about nine hours, then the aluminum insert pockets needed hand chiselling so the SendCutSend parts could sit cleanly.
Pieces
Each piece became its own little lathe job.
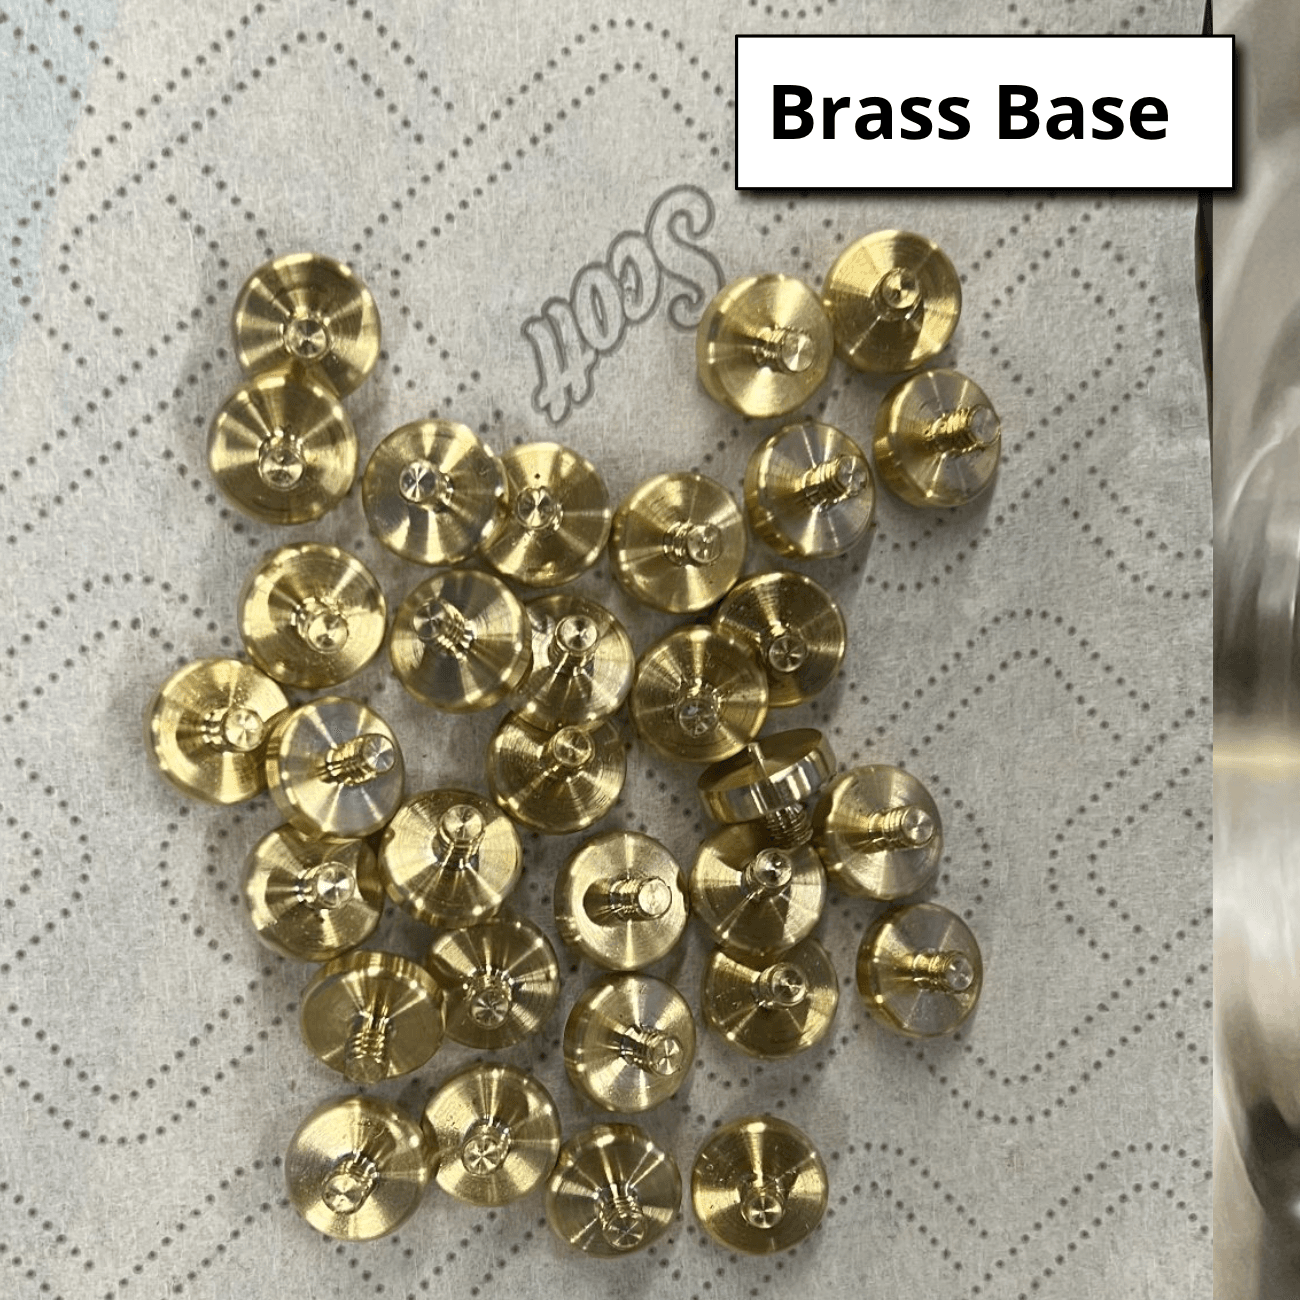
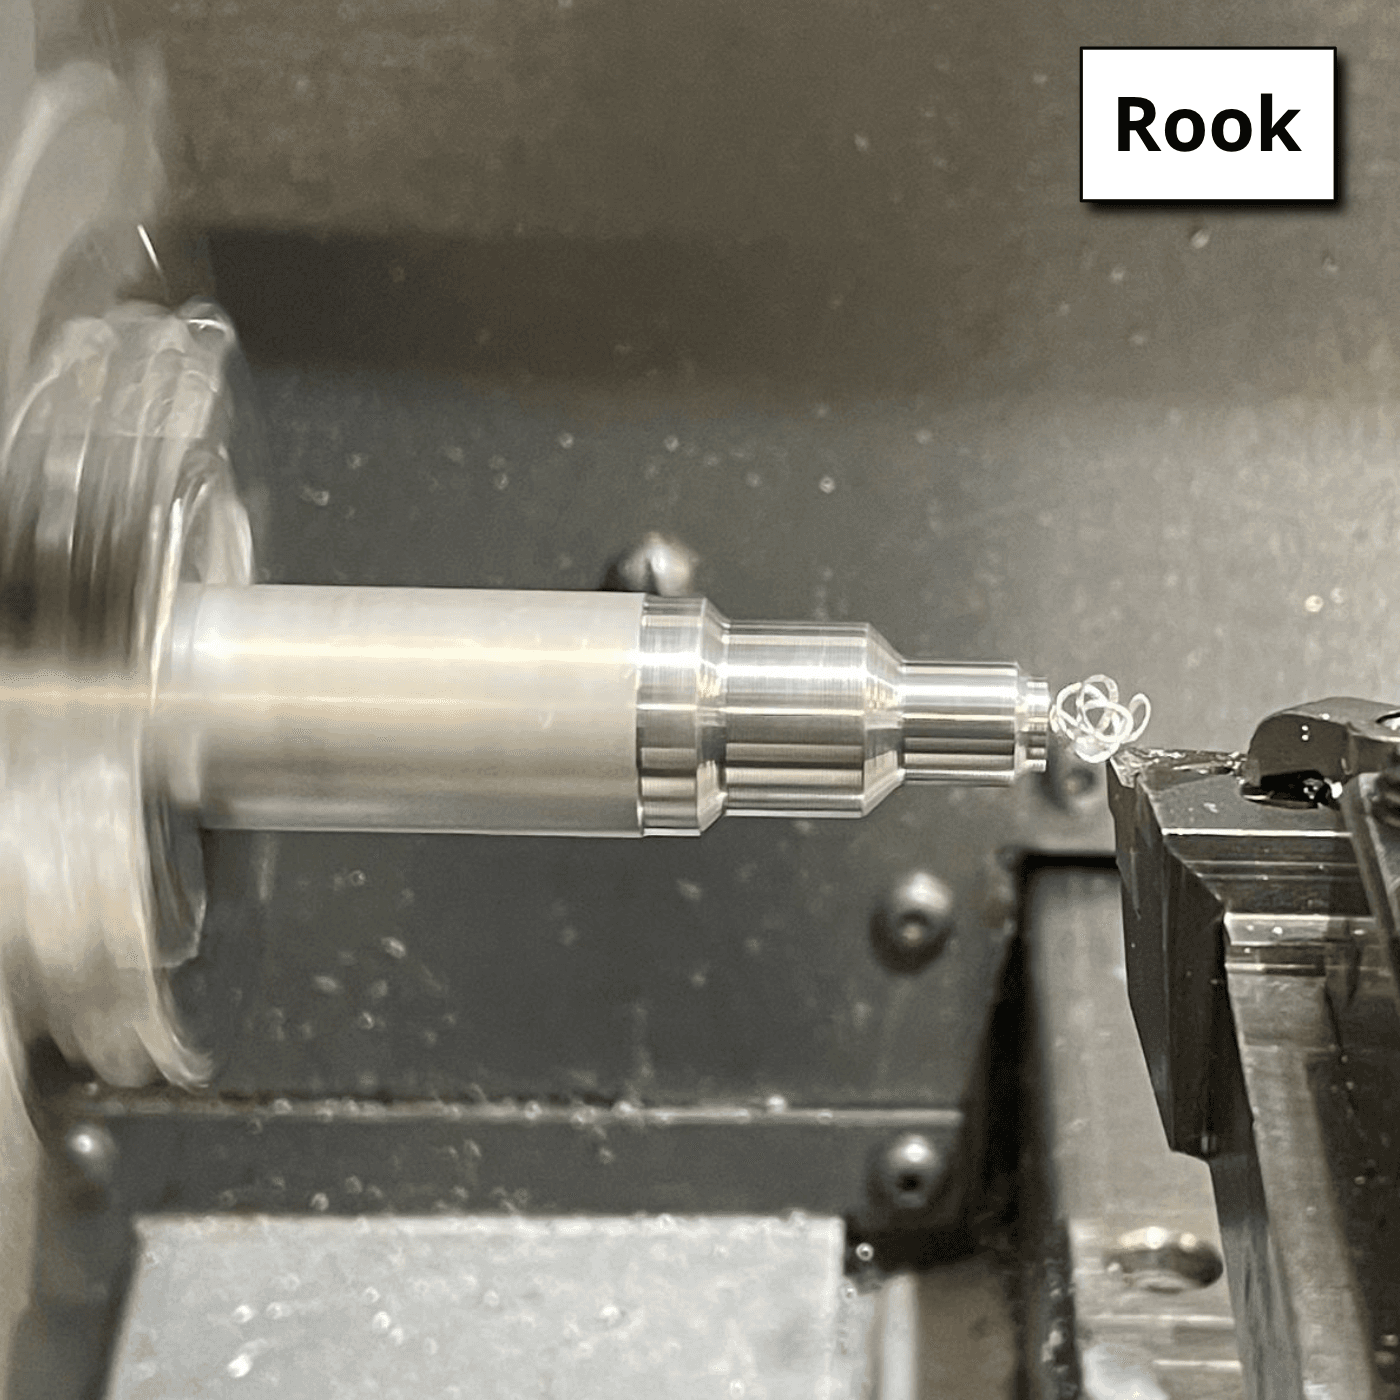
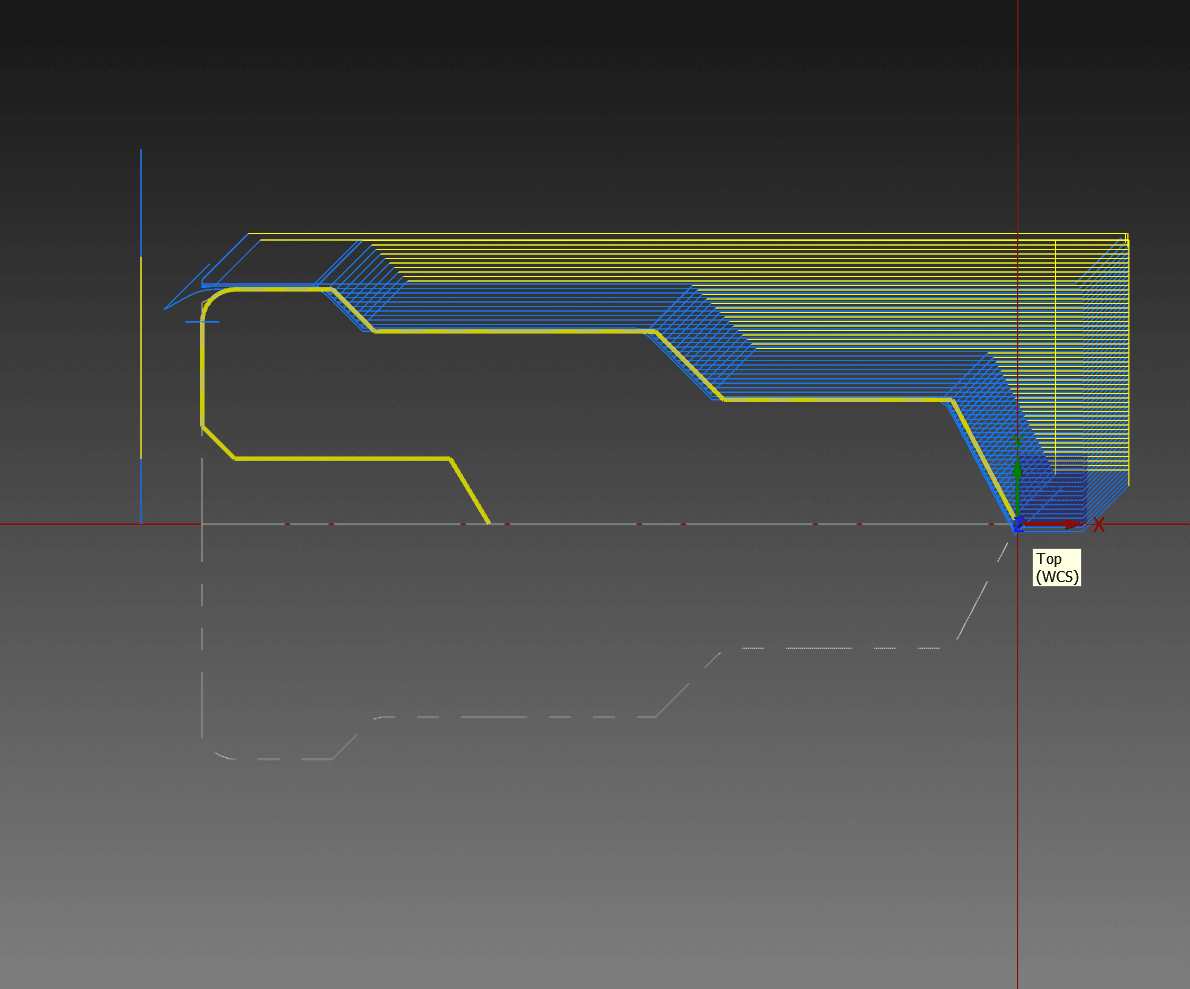
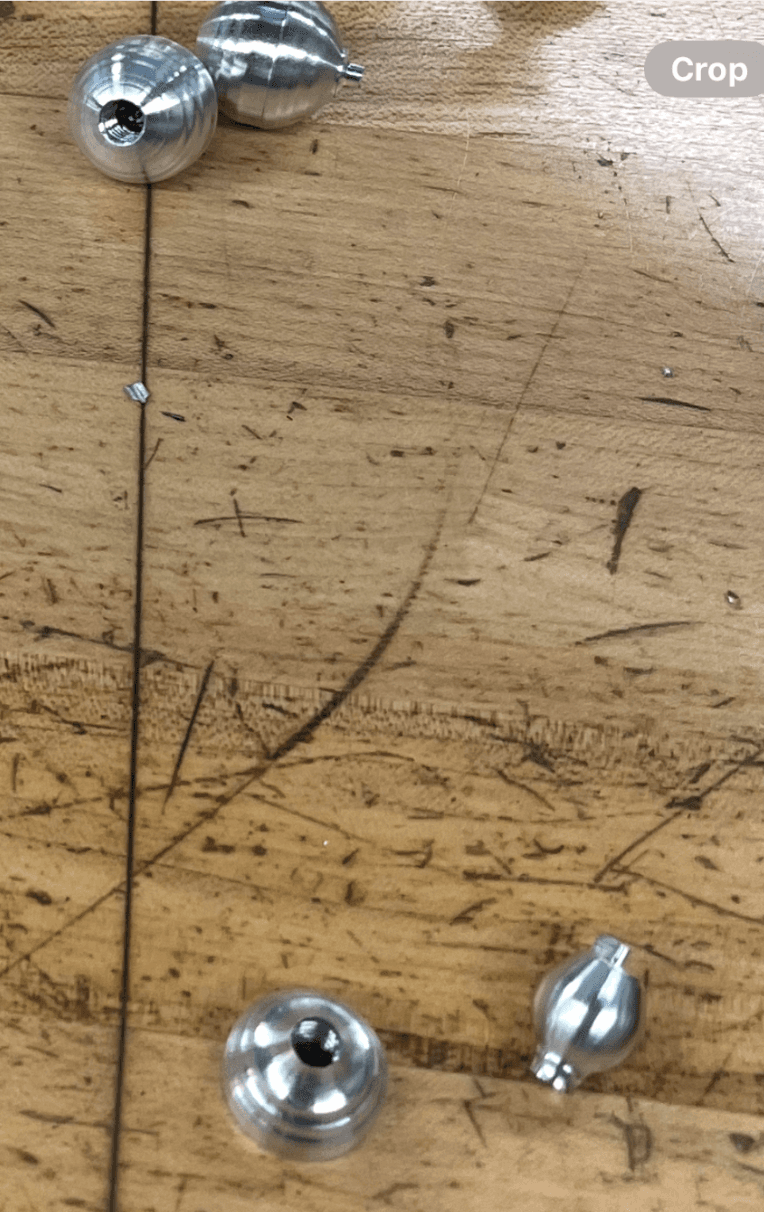
We made the chess pieces on the TL-1 lathe, mostly as small turned assemblies: aluminum bodies and heads with brass bottoms for weight.
A lot of the work repeated, but not perfectly. Most parts needed roughing and finishing passes. Some needed drill and tap operations with a 1/4-20 tap, while the brass bottoms were threaded with a die.
Tools used
55 degree carbide tool, 27.5 degree neutral tool, Hartel cutoff tool, grooving tool, 1/4-20 tap, drill, and die.
Finishing + integration
Putting everything together
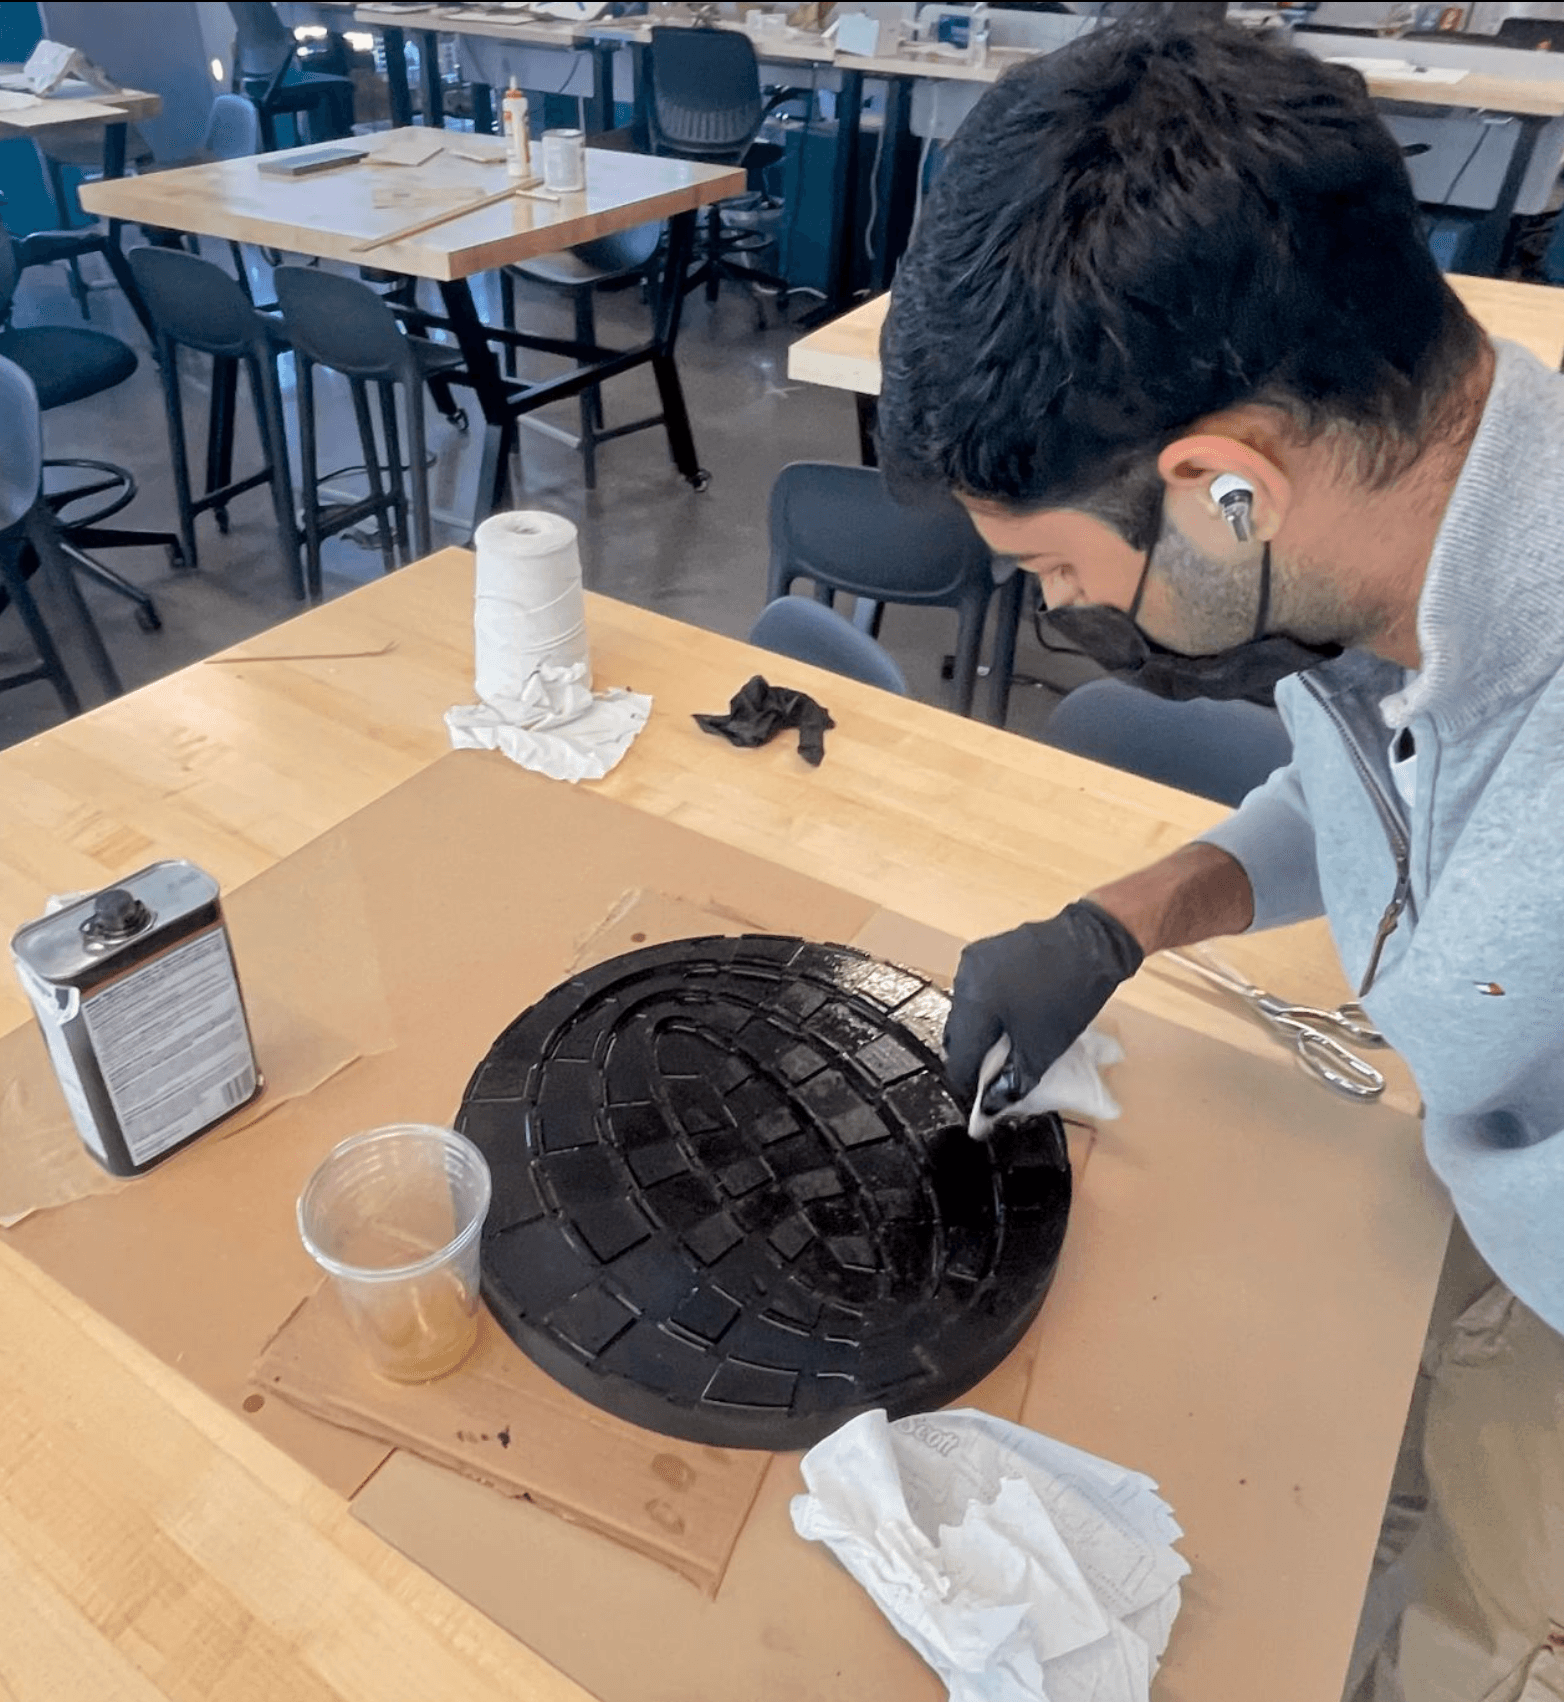
For the board, I stained the wood and integrated the aluminum inserts after the CNC routing and hand chiselling were done.
For the pieces, we deburred the turned parts and threaded each base and body together so the set felt solid in hand.
04 · lessons
Challenges and lessons
A few things only became clear once we moved from CAD into CAM, machining, and hand fitting.
- Routing with the 1/8 inch ball nose end mill took a while.
- The board took about 12 hours of machining in total.
- CAM for the router was a good learning curve.
- We had to chisel the insert edges by hand so the aluminum sheets fit.
- Added height to the pieces where we needed more thread length.
- Increased the cutoff diameter to stop parts from shearing.
- Split roughing into sections so thinner areas were not stressed.
- Made small design changes around tap and die limitations.
05 · gallery
Some other pictures along the way